
Bathroom Mold Removal: What to Clean, Repair, or Investigate
You can scrub a small patch of mold off sound, washable tile or another hard surface with detergent and water. Dry it thoroughly once you have dealt with the moisture source. If materials are breaking down, water is getting behind tile or drywall, the growth is large or hidden, or the cleanup isn’t safe for you to do, get the area investigated or repaired. Start with the material and where the moisture comes from.
Before you scrub: is this a safe DIY cleanup?
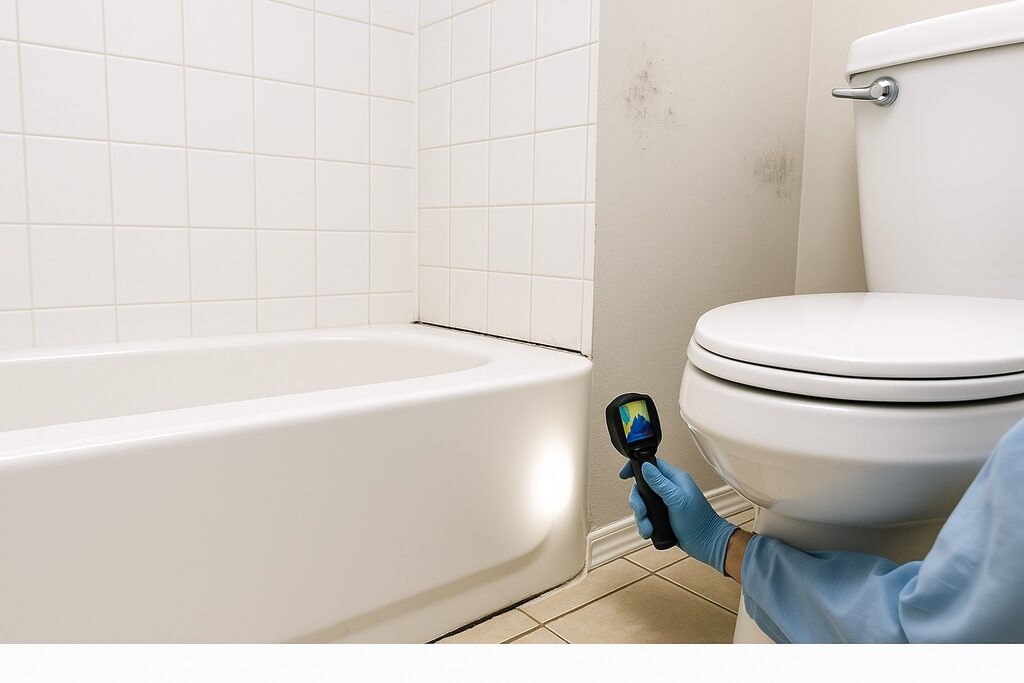
A few spots on shower tile are minor next to a swollen ceiling or a wall that stays wet behind its finish. First, check that the mold is limited, within reach and on a surface you can wash safely.
The EPA homeowner guide says that in most cases you can clean a visible mold area smaller than about 10 square feet yourself. Extensive water damage or hidden contamination can change that, even when the visible patch is smaller.
Skip DIY cleanup if any of these apply:
- Extensive or hidden growth: The mold spreads beyond a patch you can reach, or moisture damage points to growth inside a wall.
- Significant water damage: Wallboard is swollen, soft or crumbling, or water has reached concealed building materials.
- Contaminated water: Sewage or another major contaminated-water event contributed to the problem.
- HVAC involvement: The growth may involve air-handling equipment or ductwork.
- Unsafe access: Investigating means opening wet assemblies or working in hazardous spots.
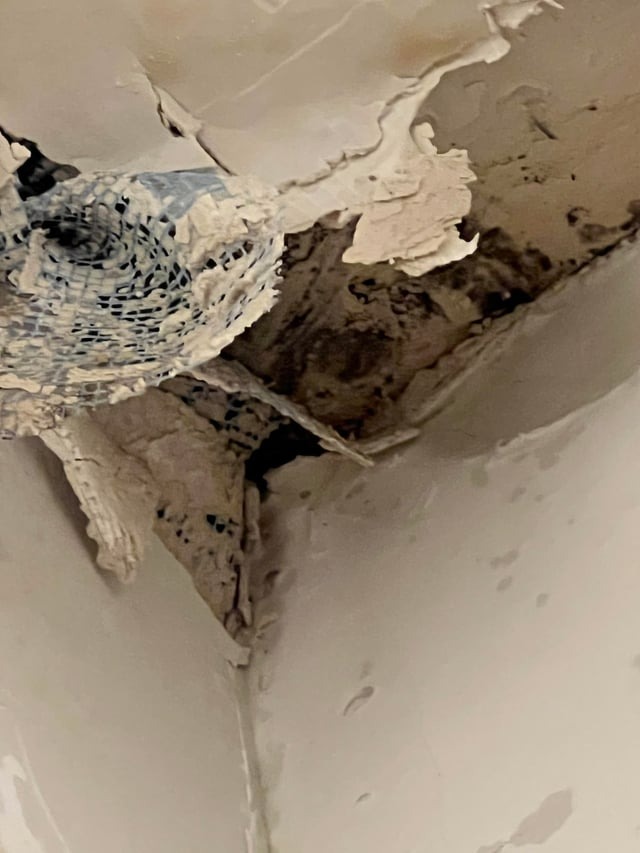
If any of these applies, leave the affected material alone and have a professional assess it. What the remediation involves depends on what the inspection finds.
Your health matters too. The CDC mold cleanup guidance advises people with asthma, respiratory illness, mold allergies or weakened immune systems not to do the cleanup themselves. For small cleanups you do take on, CDC recommends a NIOSH-approved N95 respirator, gloves and protective eyewear.
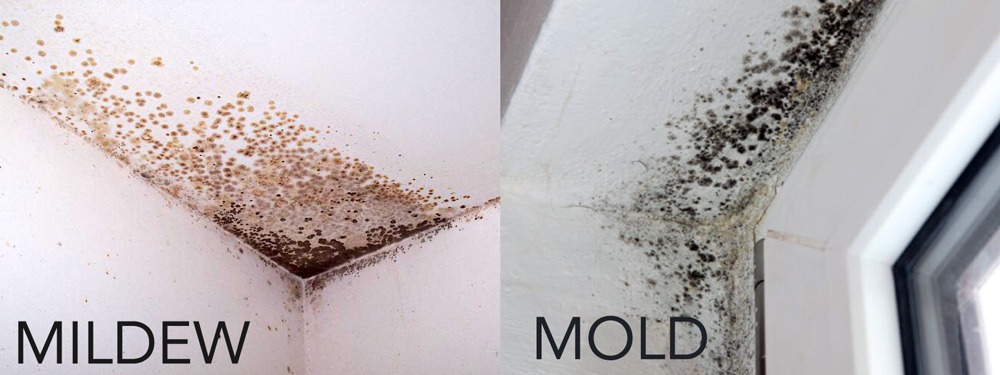
Color tells you nothing about the species or the health effects of a patch, whether it is black, green or something else. Look at the material, how far the growth spreads and how long the spot has been wet.
Where is the mold? Match the bathroom surface to the next step
Tile, grout, silicone, natural stone and painted drywall react differently to moisture and cleaners. Find your surface in the table.
| What you see | What to check | Next step |
|---|---|---|
| Small spots on sound glazed tile | Hard, intact finish you can reach | Clean with detergent, then dry thoroughly |
| Dark marks on grout | Solid joint, or cracks, crumbling and constant dampness | Clean solid grout. Repair a failing joint |
| Blackened or peeling silicone caulk | Gaps, separation, trapped moisture and the condition of the backing | Check the joint. Repair or replace defective sealant after the moisture is fixed |
| Bubbling paint or soft drywall | Swelling, saturation or damage under the paint | Find the damage and the water source |
| Ceiling spots | Surface condensation, persistent dampness or a leak | Identify the moisture cause before you clean or repair |
| Marks on marble or limestone | Stone type and product compatibility | Use a stone-safe cleaner |
| Spots on curtains or removable accessories | Care label and whether the item is still usable | Follow the care label. Replace damaged items |
| Water seeping from tile joints | Wet materials behind the finish | Investigate the shower assembly before any cosmetic work |
Take extra care with natural stone. The Natural Stone Institute warns that acid-containing products such as vinegar or lemon can etch calcareous stones, including marble and limestone. Abrasives can also mark vulnerable finishes. A product made for glazed ceramic tile can damage a stone shower.
Clean a small patch on an intact washable surface
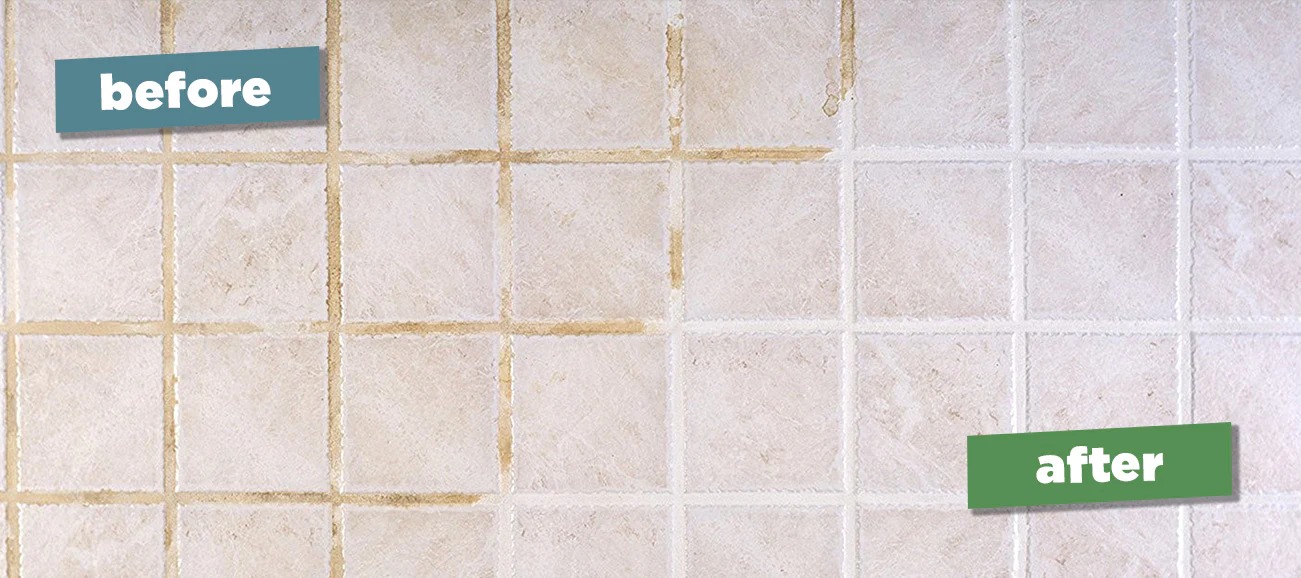
For a small patch on a sound, washable hard surface, the EPA recommends scrubbing with detergent and water, then drying thoroughly.
- Check compatibility. Read the finish and cleaner labels, especially around natural stone, grout and coated materials.
- Scrub the affected hard surface. Use detergent and water on growth you can reach, without cutting into sealant or disturbing wallboard.
- Remove residue. Rinse or wipe away leftover detergent as the cleaner’s directions say.
- Dry the area completely. Pay attention to corners and edges where water collects.
- Stop if you find loose joints, soft wallboard or seeping water.
Do you need bleach or vinegar?
The EPA bleach guidance does not recommend routine use of biocides such as chlorine bleach for mold remediation. Killing the mold or fading the stain doesn’t remove it. You still have to scrub it off and fix the moisture.
CDC permits bleach in certain household cleanup situations under specific safety conditions, with a limit of no more than one cup of household bleach per gallon of water. That is a maximum, and detergent and water remain the basic approach for hard surfaces.
Never mix cleaning chemicals. Bleach combined with ammonia, vinegar or other cleaners can create hazardous fumes. Follow the instructions for the actual product and finish.
Moldy porous material sometimes has to be removed because growth inside it is hard to clean out. This hard-surface procedure doesn’t cover soaked gypsum board or concealed shower backing.
When shower caulk or grout needs a repair instead of another cleaner
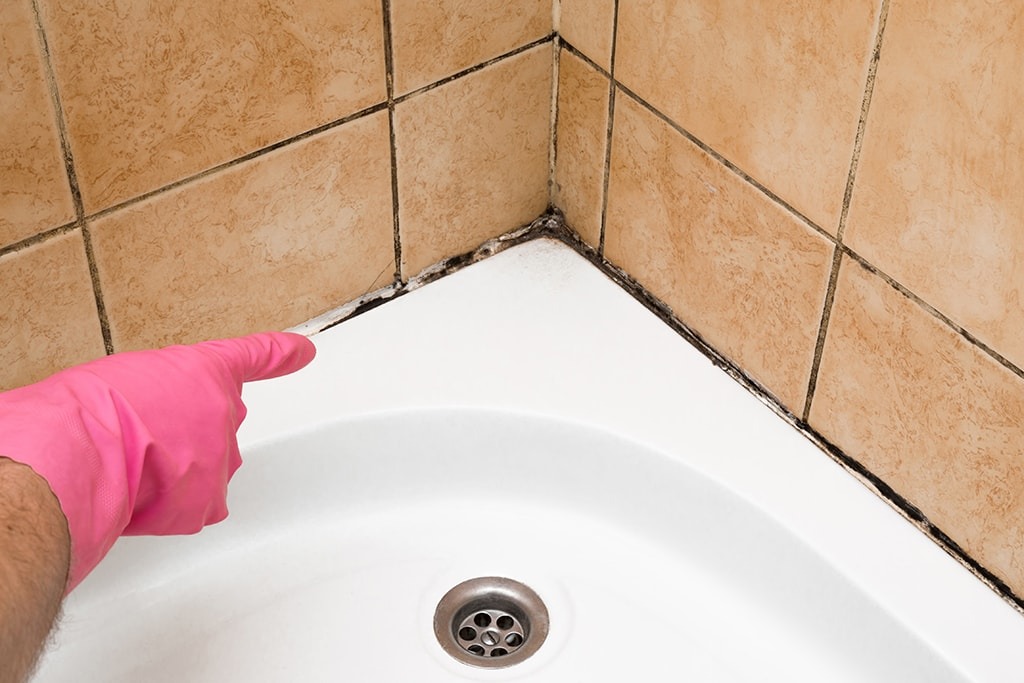
Dark staining on an intact joint you can reach may clean up with careful surface scrubbing. Peeling silicone, separated sealant, missing grout or damp backing need a closer look and possibly repair. A cleaner can’t close a gap in a shower joint. The EPA advises against painting or caulking over mold, so clean the area, deal with the growth and let it dry before new sealant goes on.
When and how to replace failed shower caulk has the details.
Red flags for water behind tile, paint or drywall
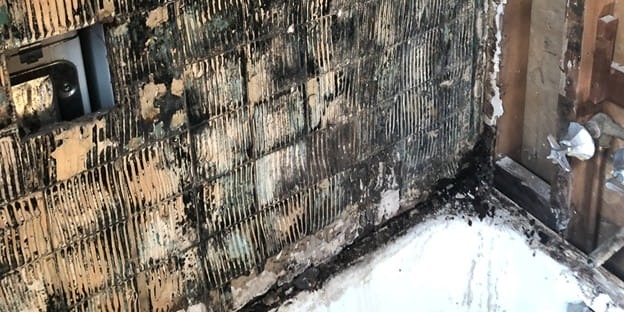
Water coming out from behind a shower finish turns surface cleaning into a building-material problem. Tile and grout are only the visible layer. According to Schluter’s technical guidance, the waterproofing sits inside the shower assembly.
Water can seep out of a joint when you lift deteriorated caulk or disturb a tile edge. Also watch for:
- Loose tile: A piece moves or has separated from the surrounding finish.
- Persistent wetness: A joint or section stays damp long after ordinary shower moisture should have dried.
- Expanding water stains: Discoloration spreads beyond the original plumbing or shower location.
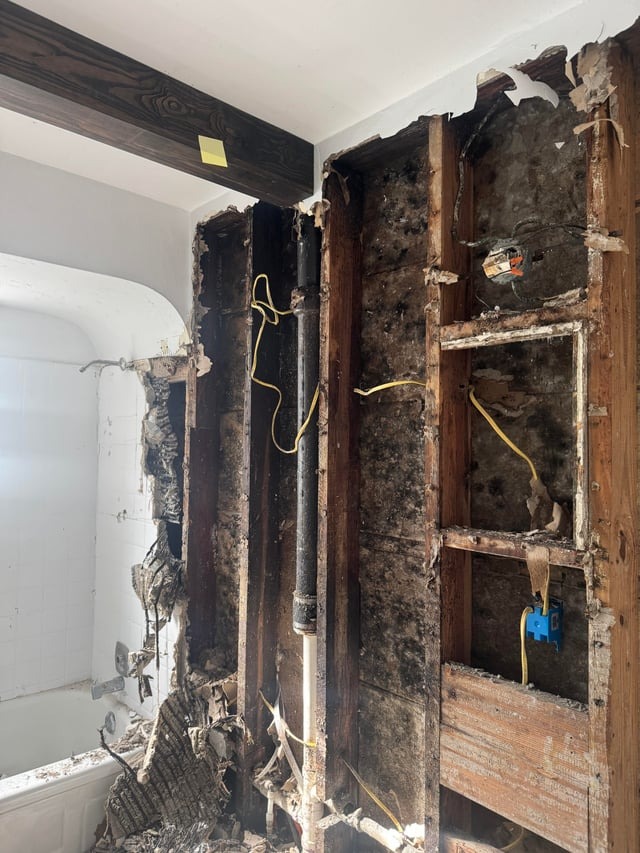
Yesterday, while deep cleaning my shower, I scrubbed off some silicone caulking (which was applied poorly by the previous owners and was already peeling) because I could see black mold behind it in spots. I’ve resisted doing this for the last year or more because I had a feeling that in doing so, I’d be opening Pandoras box.
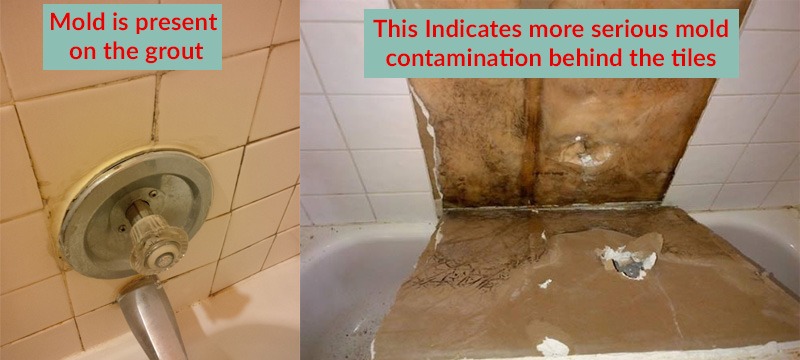
Once I started scraping off the silicone, it became clear there was no longer any grout behind it. The caulking I removed was covered in black mold, and a bit of nasty water seeped out from some of the tiles. I assume this means there’s mold behind at least some of the tiles and they’ll need to be removed.
I sprayed a shitload of 3% hydrogen peroxide into the now gaping cracks and now I’m too overwhelmed and disgusted to determine next steps, aside from closing the bathroom door and never opening it again.
As you can see in the photos, most of the shower tiles are in great shape. Issue is the bottom row and underneath the bench.
I spent 2 hours deep cleaning this bathroom yesterday, and now it’s a fucking biohazrd site.
What are the chances we only have to remove some of the tiles and how much is this going to hurt?
The seepage at the lower row and shower bench is the detail that points to the assembly. A water-damage or mold-remediation professional can assess suspected concealed moisture and tell you what work is needed.
Do you need a mold test before addressing visible growth?
No. The EPA says routine sampling isn’t needed when visible growth already has to be cleaned. Testing can make sense in specific investigations, but there is no federal acceptable airborne mold-spore count that certifies an ordinary bathroom as clear.
Stop the moisture: tell shower steam, leaks and a weak fan apart
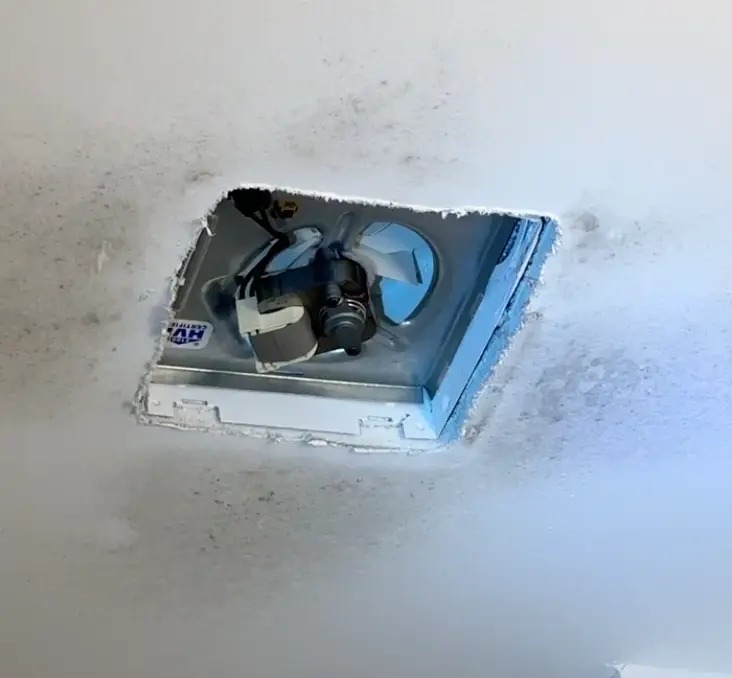
Mold that keeps coming back usually means moisture keeps reaching the same spot. Condensation after hot showers, poor exhaust and water leaking into the building each need a different fix. Ventilation fixes are in bathroom ventilation and recurring mold.
| Moisture pattern | Cause | What to do |
|---|---|---|
| Surfaces get wet mainly during hot showers | Condensation and ordinary bathroom humidity | Improve ventilation and dry the surfaces |
| Fan runs but the room stays humid or surfaces stay damp | Weak airflow, blocked grille or wrongly routed exhaust | Check what you can reach, and get the ventilation serviced if needed |
| Water shows up at one wall, ceiling or fixture even without shower steam | Plumbing or building leak | Find and repair the source of the water |
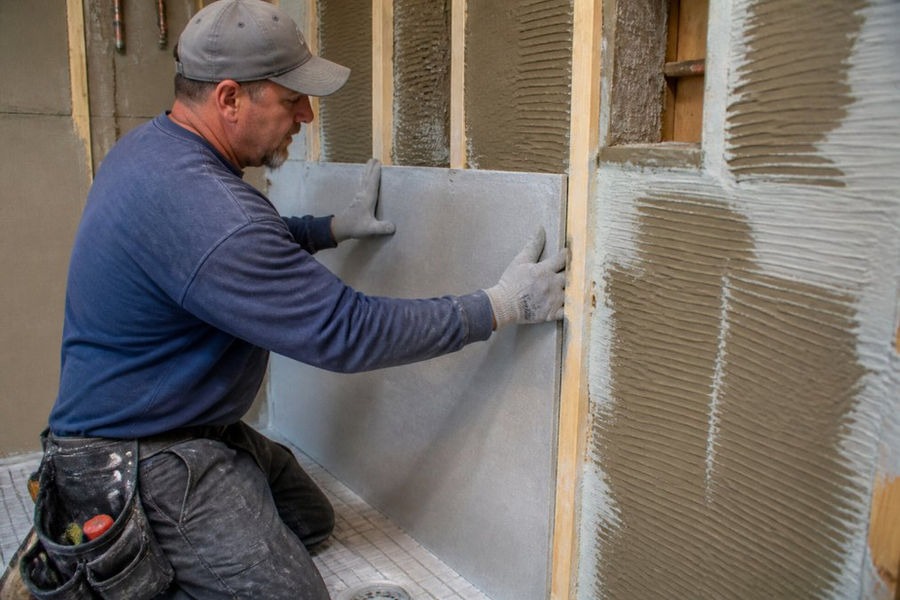
A bathroom exhaust fan should discharge moist air outdoors. US Department of Energy building guidance warns against exhausting into an attic, where the moisture can create a second problem. A running fan doesn’t prove the air is getting outside. If the fan seems fine, bathroom condensation and concealed leaks explain what else to check.
- Watch when moisture appears. Compare shower fogging and wet surfaces with dampness that lasts between uses.
- Inspect the exhaust parts you can reach. Look for a blocked grille or other obvious signs of poor ventilation. Don’t open electrical equipment or enter an unsafe attic.
- Check room humidity. A hygrometer shows whether the air stays humid. A wet joint in one spot needs its own inspection.
Broan-NuTone’s fan runtime guidance cites the Home Ventilating Institute’s recommendation to keep a bathroom fan running for 20 minutes after a shower.
EPA’s general home guidance recommends keeping relative humidity below 60%, ideally between 30% and 50%. Those numbers describe room air, not whether concealed shower backing or a plumbing cavity has dried.
If you rent, keep a record instead of attempting destructive repairs
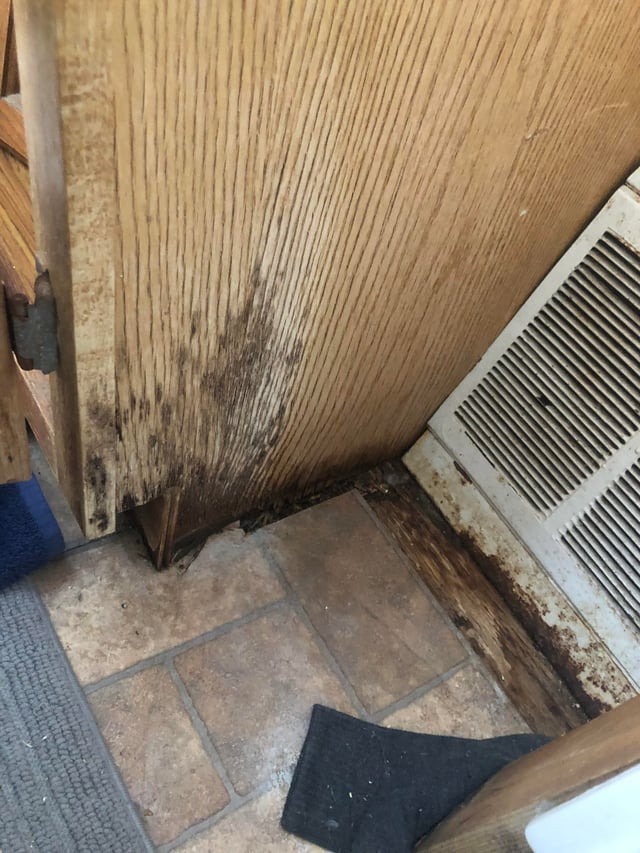
If a joint keeps staining or stays wet and you rent, document the condition and ask the landlord to assess the material and the water source. Removing sealant, lifting tile or opening a wall may be work you aren’t authorized to do.
Hi all, hoping someone could help me diagnose the issue here and figure out what to do
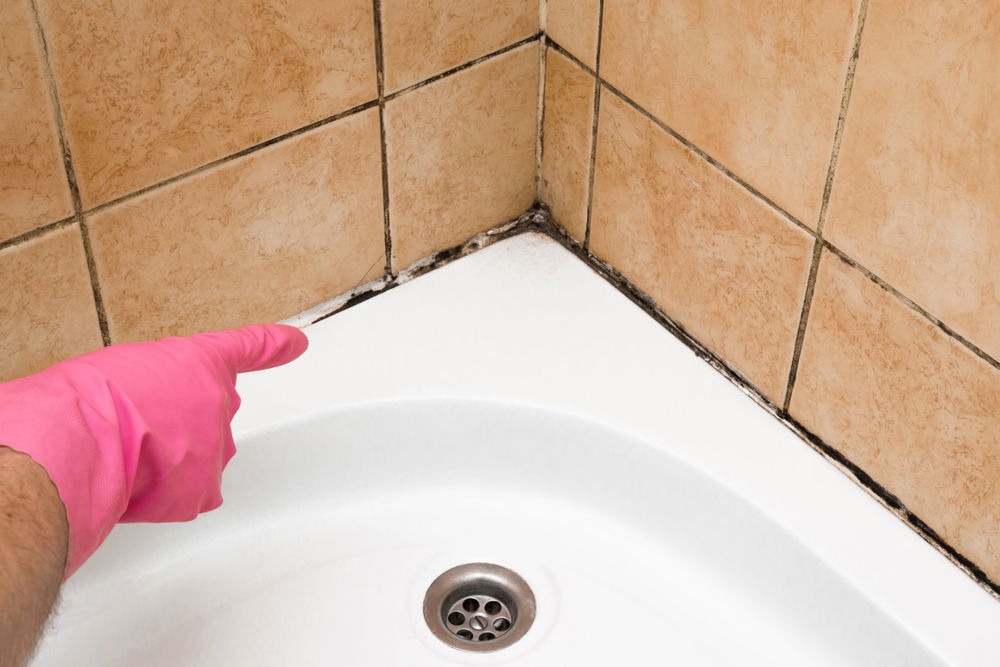
Our bathroom tub has a caulk line between the tub and tile, and in some areas the tub slopes towards the tile (seems dumb to me). In those areas, as pictured, it appears there’s a mold buildup. I’m not sure the caulk product, I’m a renter so something renter friendly is preferable to removing and replacing with antimicrobial
I’ve tried some things to remove it, such as applying, letting sit, and scrubbing an assortment of things. Bleach, other cleaning product, even boiling water to try and get rid of it. Nothing has worked, any tips to get this clean again?
Boiling water is not a recommended mold-cleaning method.
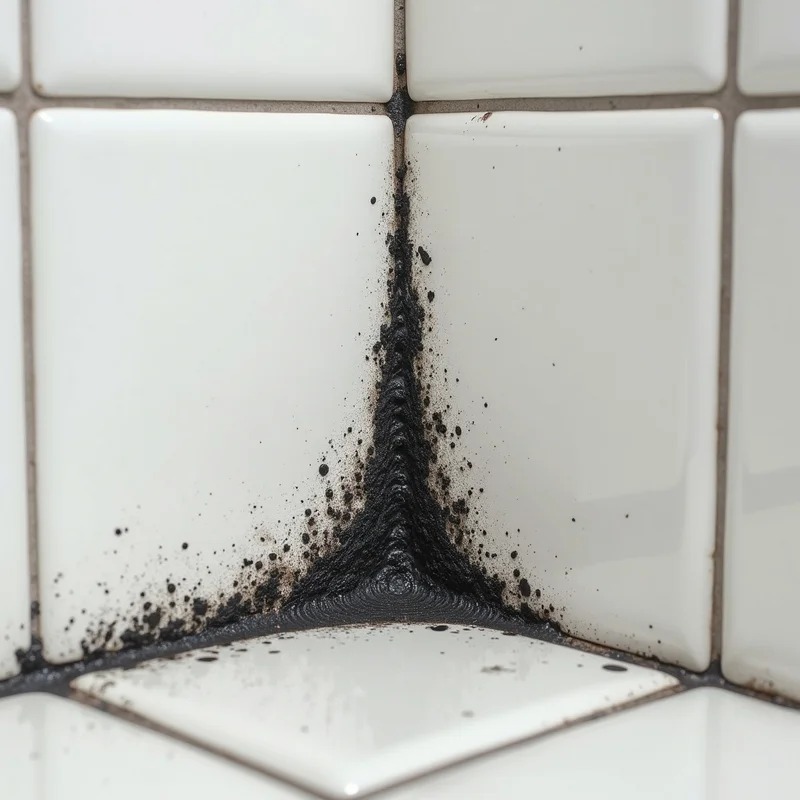
Include these in your repair request:
- Photos with context: Show the joint, wall, ceiling or fixture and its surroundings.
- A short dated record: Note when the problem appeared, what ordinary cleaning you tried and whether the spots came back.
- Moisture details you observed: Describe leaks, lingering condensation, loose caulk or damp material. Don’t claim a confirmed species.
- Written notice: Send the record to the landlord or property manager and ask for assessment or repair if the damage continues.
Lease terms and state or local law set specific repair duties and remedies.
How to tell whether the bathroom mold problem is resolved
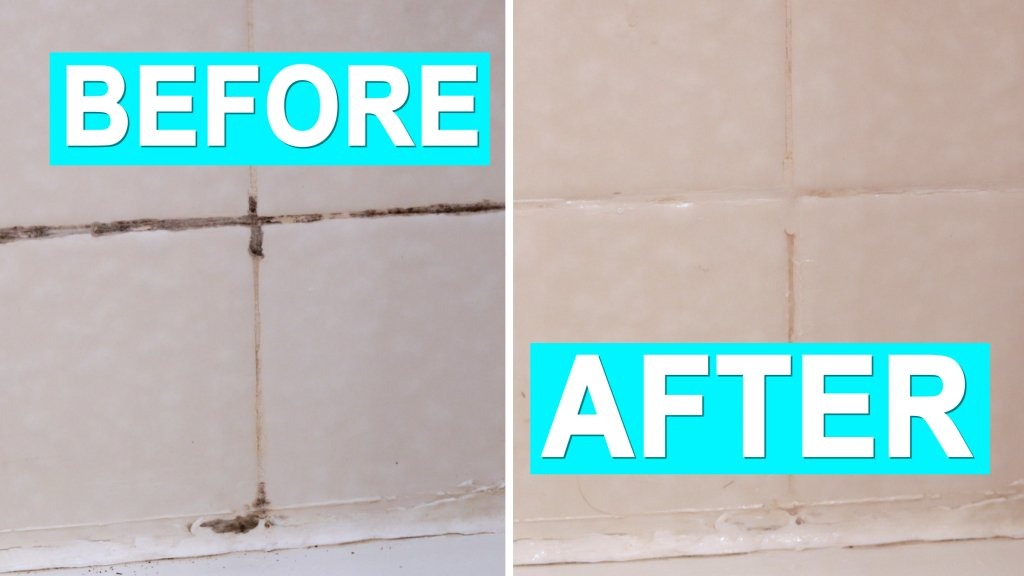
A cleaned patch should stay sound and dry through normal bathroom use. Check the moisture source as well as the treated surface. A clean-looking wall with a continuing leak is an unfinished job.
- Moisture source fixed: The leak, persistent condensation or weak ventilation that fed the growth has been dealt with, and damaged materials are repaired or replaced where needed.
- Surface dry: The areas you can reach no longer stay wet.
- No new growth or musty smell: The spot stays dry and clean after showers and other normal use.
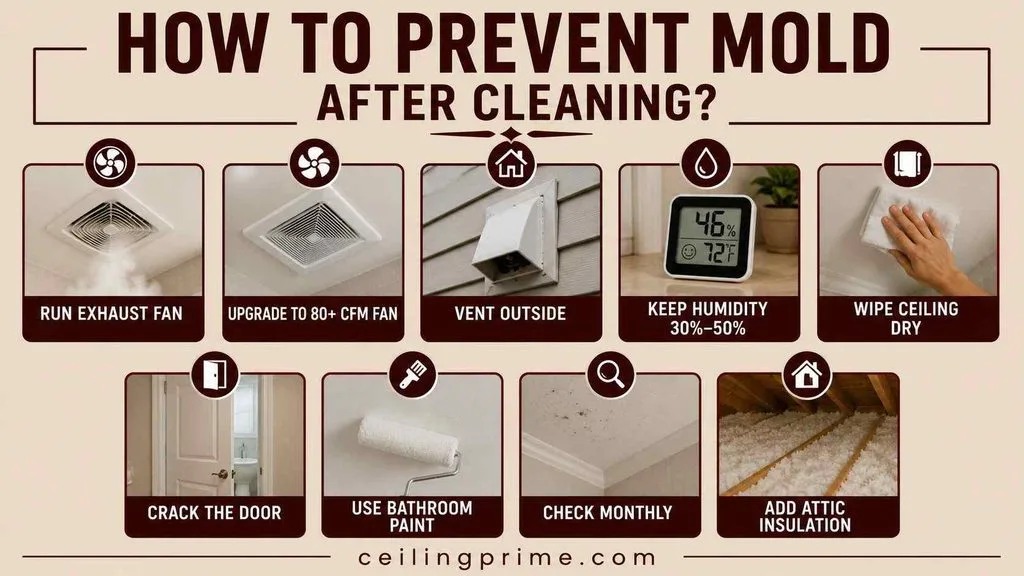
EPA notes that mold can leave cosmetic staining after removal. An old mark on a sound, dry surface is fine. New growth or dampness means you should look at the underlying problem again.