
Mold Assessment and Inspection Guide for Homeowners
Start by checking visible conditions, water damage and the likely moisture source before you order mold testing. If you see a small, straightforward patch of growth, fix the moisture and arrange suitable cleanup. If damage may be hidden, extensive, unsafe or hard to assess, hire a qualified professional to investigate. Order laboratory sampling when the result will answer a specific question that changes what happens next.
A musty room, a dark patch behind a sink or a ceiling stain leaves you wondering how much of your house is affected.
A useful mold assessment separates what you see from what still needs investigation. It gives you a clear next step without turning every suspicious spot into a laboratory project.
What a mold assessment tells you
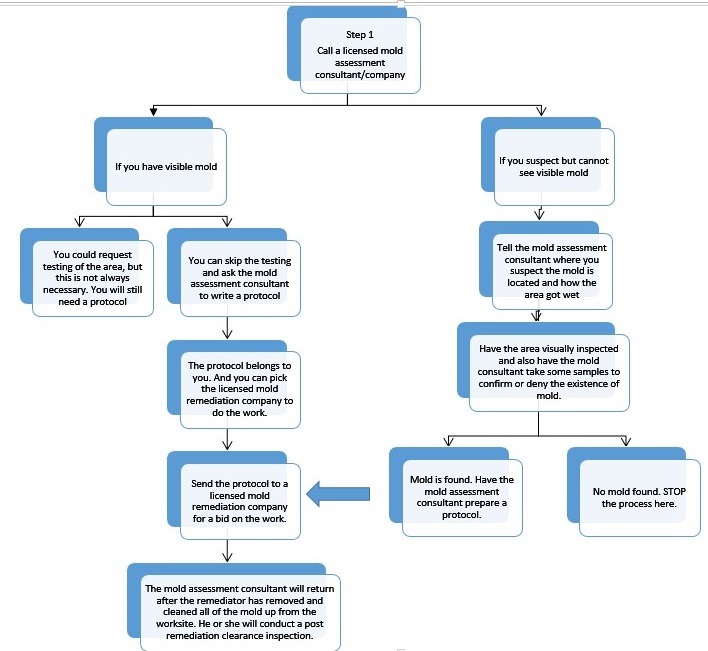
A mold assessment answers four questions: where the problem is, what causes it, how far it extends and what should happen next. It examines the building conditions that support growth: visible signs, evidence of water intrusion, affected materials and moisture history. A professional inspection adds a walkthrough, moisture measurements and closer checks of specific areas. Sampling is separate: air or material goes to a laboratory, and the result answers one narrow question. Remediation removes the contaminated materials and fixes the conditions that allowed the growth.
Once the assessment shows how far the problem extends, you can decide whether the cleanup is a DIY job or needs a professional.
After a plumbing leak, visible growth near a bathroom wall raises three questions: which material is wet, how far the damage reaches and whether the leak is fixed. A musty wall with no visible growth after an older leak raises another: does moisture remain, and do hidden materials need a closer look?
The first signs worth taking seriously
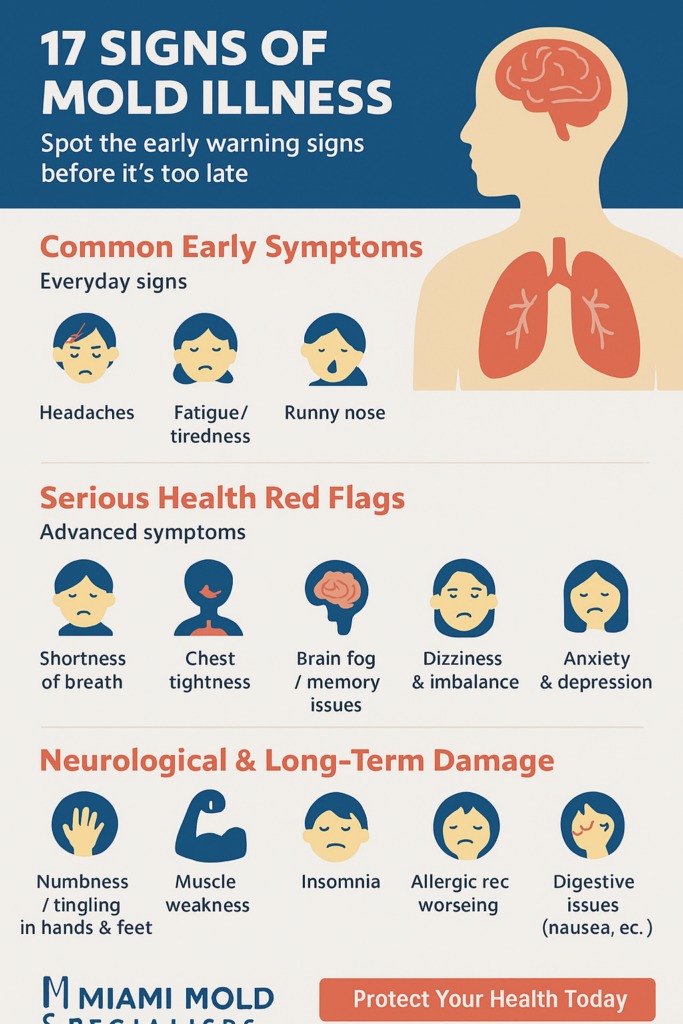
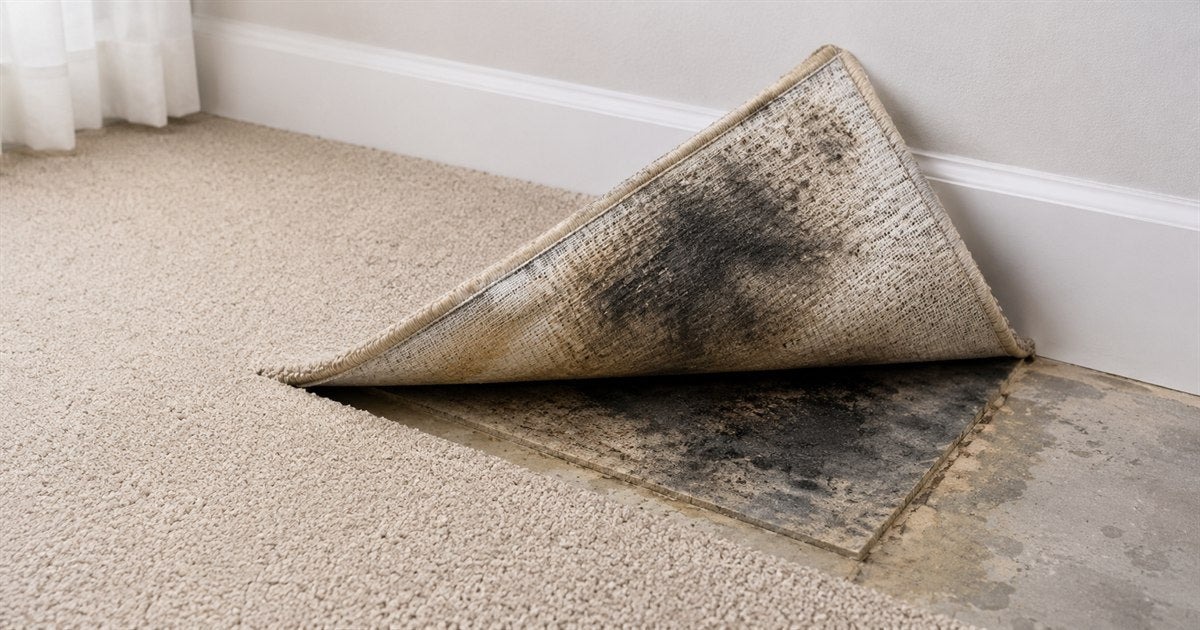
Visible growth, recurring water stains, a persistent musty odor, peeling finishes and damp materials all deserve attention.
A dark mark can be mold, dirt, staining or another surface condition. Color and photographs cannot tell you the mold species or the health danger, and a musty smell tells you to investigate without naming a fungus or its location.
| What you notice | What it can mean | What you still don’t know | What to do next |
|---|---|---|---|
| A small visible patch beside a known leak | Growth linked to water exposure | Condition of the material and the full affected area | Check that the leak is fixed, then decide whether you can clean it yourself |
| Musty odor with no visible growth | Hidden dampness | Source and location | Check moisture levels and the hidden areas nearby |
| Wet carpet or wallboard after a leak | Water has reached absorbent materials | Condition of the backing, padding and hidden surfaces | Assess the water damage and the materials it reached |
| A stain returning through paint | A persistent or recurring moisture problem | Whether the original source was fixed | Investigate the moisture and the area behind the finish |
| Suspicious marks around HVAC equipment | Condensate or other moisture problems | Whether equipment or duct materials are affected | Have a professional evaluate the equipment |
| A dark, cosmetic-looking mark without a known leak | Surface residue or possible growth | What the material is and its moisture history | Examine what you can reach and look for moisture clues nearby |
| Fresh paint or new flooring over a previously wet area | Earlier water damage worth checking | Condition beneath the finish | Review the moisture history and the inspection scope; get a focused assessment if needed |
| A positive or negative DIY mold plate | A result that reflects that specific sampling setup | Hidden source, affected area and health risk | Read the testing section below before you order more tests |
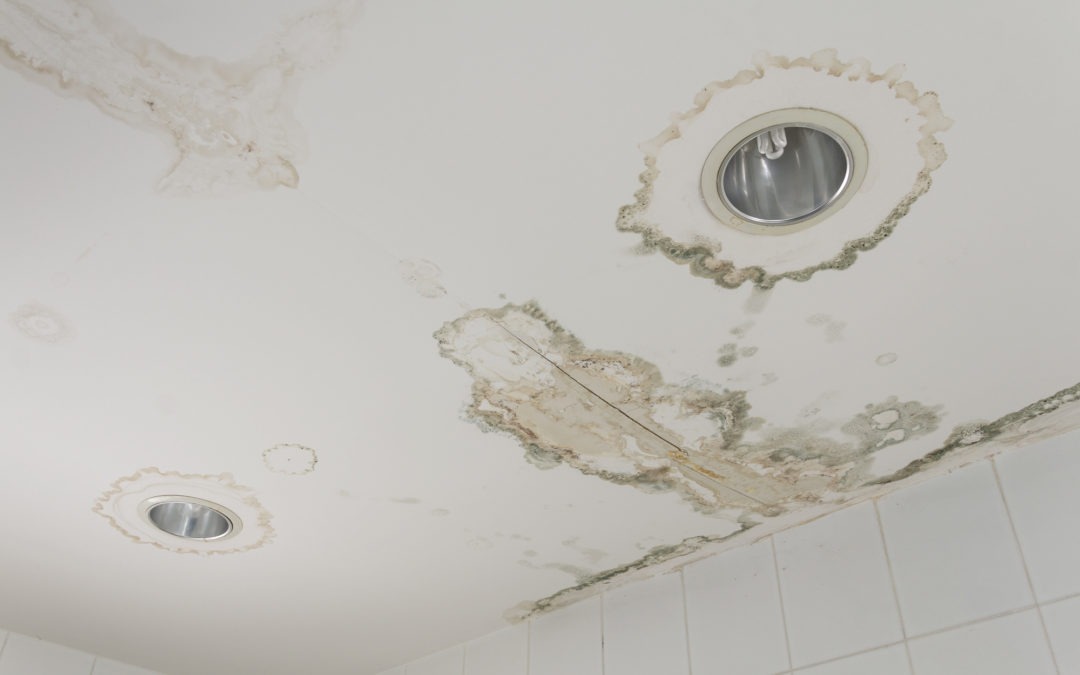
Some signs point straight to damaged material: a sagging ceiling beneath an old roof leak, soft cabinetry around plumbing, or flooring that stays damp after a water event. Each one points to a problem that extends beyond the visible finish. A closer look at the visual signs of mold and moisture problems helps you tell these cases from a cosmetic stain.
Other clues are less direct. Window condensation reflects indoor humidity and surface temperature. A stain that stays dry after a documented repair is less worrying than one that keeps spreading.
Start an observation record: the room, the date, the visible condition and a photograph taken without disturbing the material. Note whether the problem is changing. The record makes it easier to tell an old mark from one that has returned.
Trace the moisture before deciding what to inspect
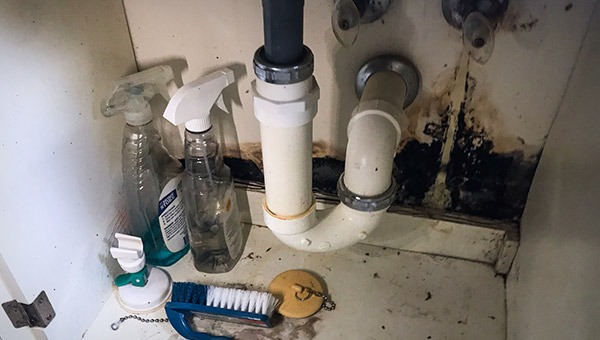
Link each suspicious condition to a possible water source. A stain beside a sink raises different questions from condensation around a window or dampness along a basement wall, and the most useful clues often come from the building’s recent history.
Check the accessible locations that match the problem:
- Plumbing fixtures: Look for staining, dampness or deterioration around sink cabinets, toilets, tubs and showers.
- Roofs and ceilings: Match ceiling marks to known roof leaks, plumbing above the room or earlier water events.
- Windows and exterior walls: Check for condensation, staining and places where water gets in around frames.
- Basements and lower walls: Ask about earlier seepage, flooding, drainage problems or repeated dampness.
- HVAC equipment: Look at accessible condensate or drain problems without opening equipment or ductwork.
- Floor coverings: Ask whether earlier leaks reached absorbent backing, padding or the material beneath the visible surface.
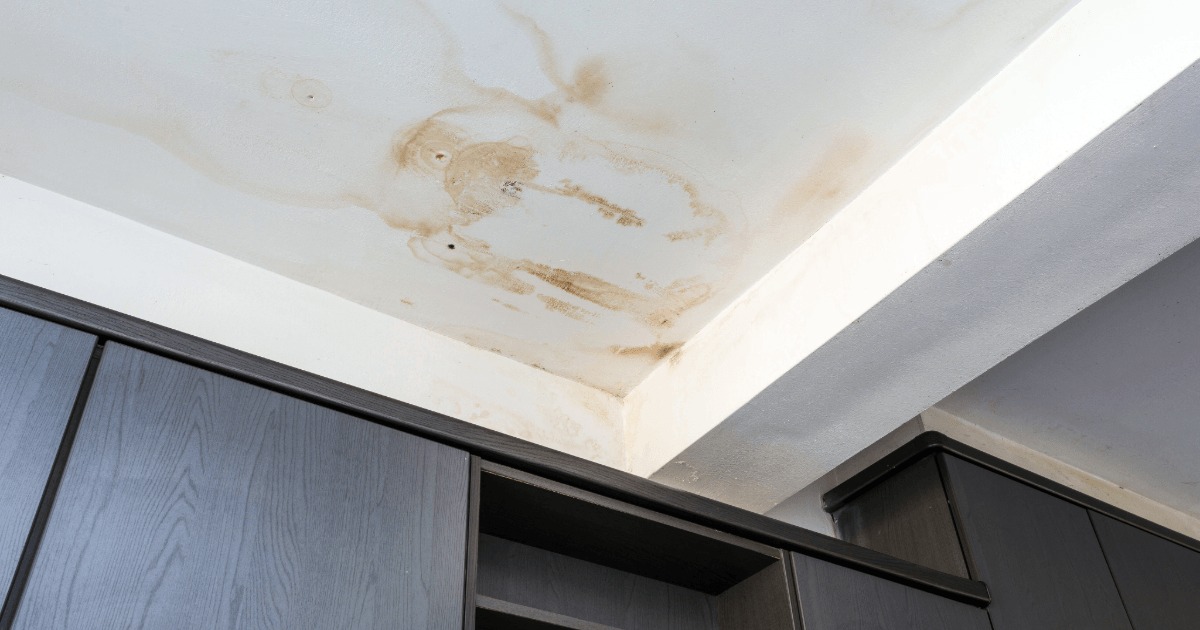
The University of Georgia Cooperative Extension’s home inspection checklist covers moisture clues around windows, walls, bathrooms and plumbing.
Then work out the water history. Record where water entered, when you first noticed it, whether anyone repaired it, which materials got wet and whether dampness continues or returns.
The EPA recommends drying water-damaged materials within 24 to 48 hours to help prevent mold growth.
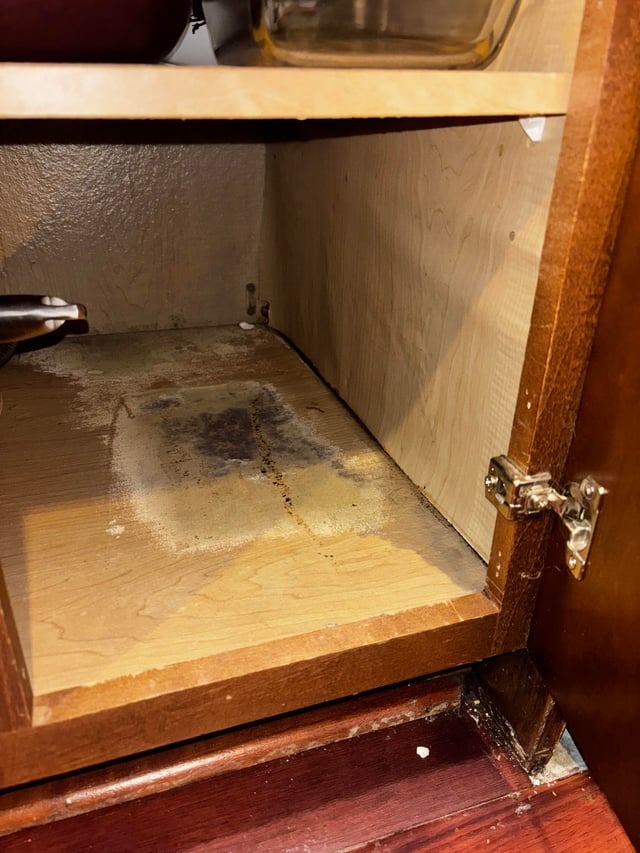
Same thing happened to us, the inspector didn’t catch it even though I brought up weird stains and smells. I also pointed it out to the realtor and got told it’s just some dirt and water stain from plants on the carpet and wood floor. Got told it’s fine.
It was not fine. The counters in the kitchen were plywood with like a laminate sheet and wasn’t sealed properly around the sink so the counters were soft and sagging. There was a leak under the sink on top of all the water that got splashed around the sink soaking in. Had to rip out the entire kitchen, dry wall, and all the flooring. Thank goodness it was a concrete pad. Replaced drywall sections, new kitchen, and lvp and good to go.
An assessment here would find where the sink water came from and which cabinet, floor and wall materials it reached.
A dry surface can still hide earlier damage. Knowing when it got wet and what was repaired tells the professional where to look.
What an inspection can miss behind finished surfaces
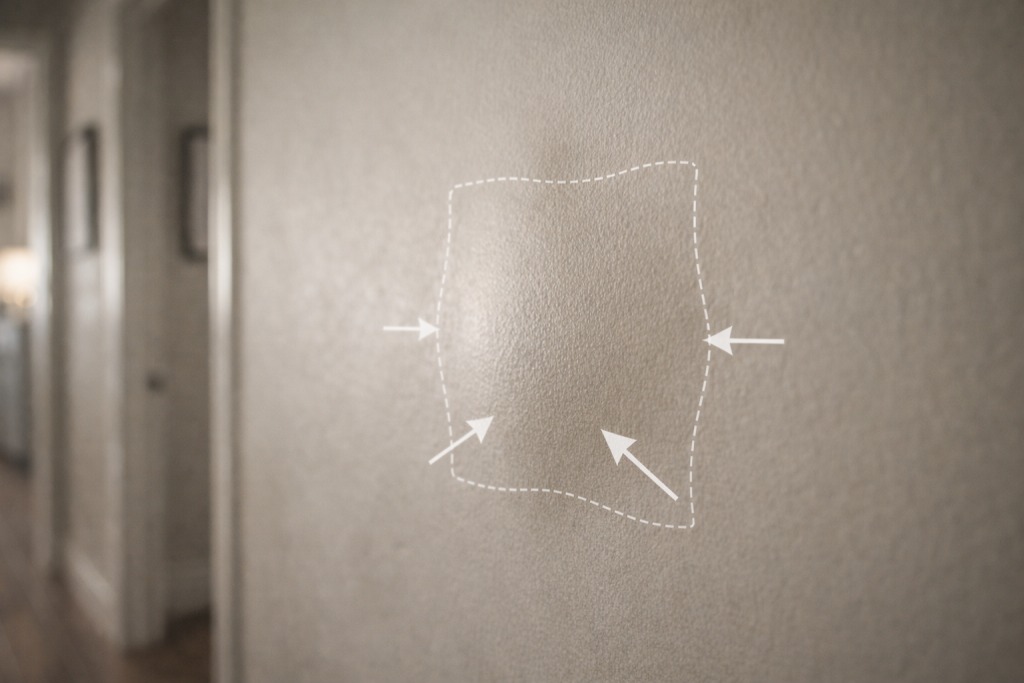
An ordinary visual inspection is limited by access. Cabinets, wall coverings, flooring and finished ceilings hide conditions that a normal walkthrough misses.
The EPA names several places where hidden mold grows, including the back of drywall, areas beneath wallpaper, spaces behind paneling, carpet backing and padding, crawlspaces, ceiling spaces and some HVAC materials.
A clean-looking room tells you nothing about the condition of every hidden cavity.
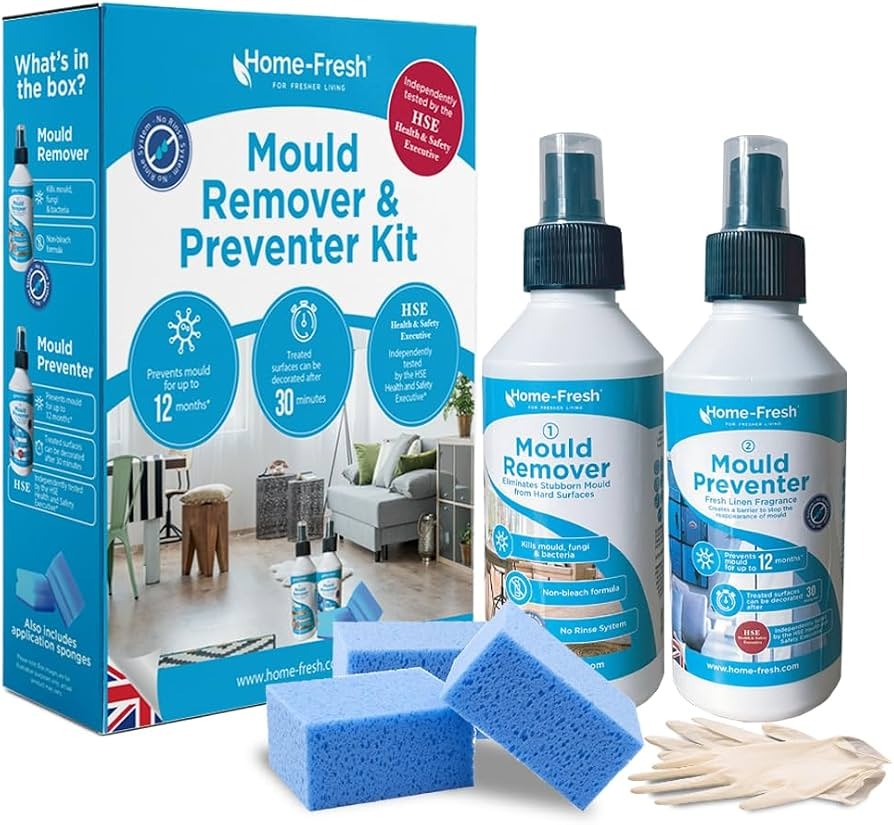
Just as the caption says, closed on the house recently and after ripping up the new carpet they had improperly installed it smelled moldy. Once I got the mold inspector checking everything they confirmed there’s mold in the house with a very high count and under the vinyl flooring that was below the carpet. There mold behind the cabinets, vanity in the bathrooms and now after it’s been awhile there’s some visible mold now too.
My inspector didn’t catch any of this since they’re only meant for a visual inspection but not ripping anything up.
Flooring and cabinetry limited what could be seen before the renovation.
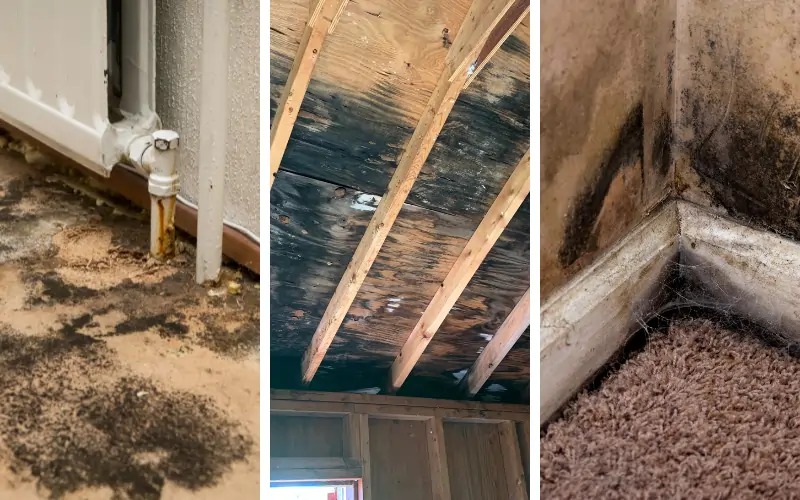
Read what the inspector’s report flags: water staining, suspicious odors or construction details that justify further investigation. Also check which areas it excludes because furniture, finished assemblies or other access limits blocked them.
A general home inspection covers the accessible building components listed in its agreement. A targeted mold or moisture assessment focuses on the suspected problem and defines any further investigation separately. Compare the written scope of the original inspection with the spot that worries you: which materials the inspector could reach, which were excluded and whether you need a focused assessment.
Do not pull suspicious wallpaper, open walls or lift potentially contaminated materials just to see what is behind them. The EPA warns that disturbing hidden mold, including wallpaper over affected surfaces, can release spores. Experienced personnel may be needed to investigate safely.
When mold testing helps and when it will not change the plan
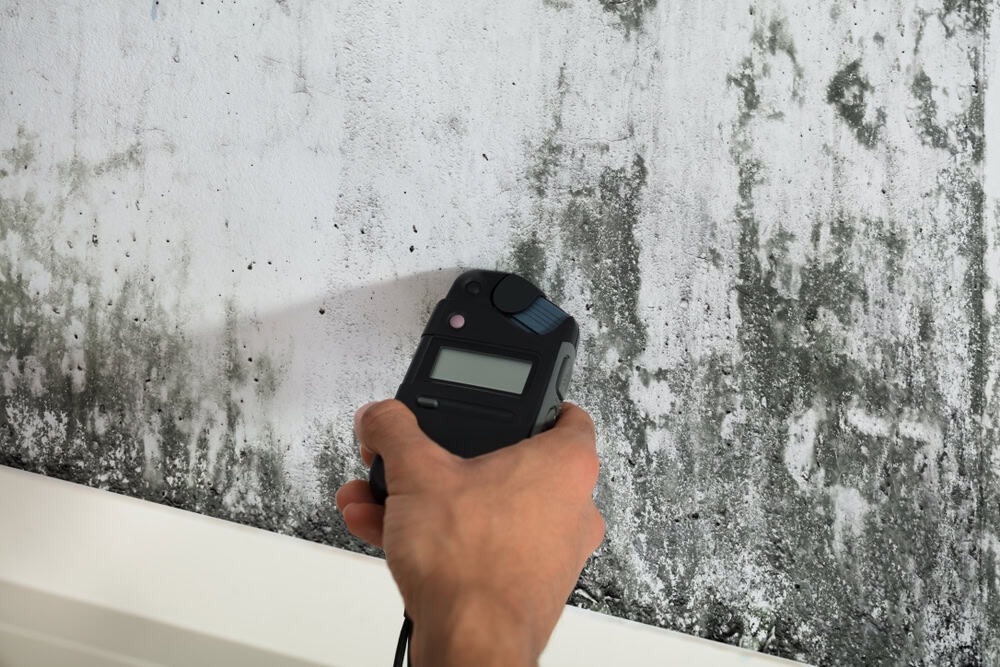
Test when the result answers a defined question that affects your decision. Many visible mold problems get handled through an assessment of the growth, the affected materials and the water source, with no routine laboratory sampling. The EPA’s guidance on mold sampling says visible mold usually makes sampling unnecessary, and it notes that no federal limits exist for acceptable mold or mold-spore concentrations.
Sampling still has a place. A qualified investigator uses it to settle a specific question about one material, and sometimes to evaluate the home after remediation.
Air sampling has its own problem: conditions during collection differ from conditions when the suspected odor or dampness occurs. CDC/NIOSH does not recommend routine air sampling for building air-quality evaluations. Short-duration results are hard to interpret, and no health-based indoor air standards turn a mold count into a measure of an individual’s health risk. A negative sample cannot certify an entire building free of hidden growth.
Before you authorize testing, ask for four things in writing:
- The question: What uncertainty will the sample resolve?
- The method: What material or air will be sampled, and where?
- The interpretation: How will a professional evaluate the findings?
- The consequence: Which decision changes if the result differs from what you expect?
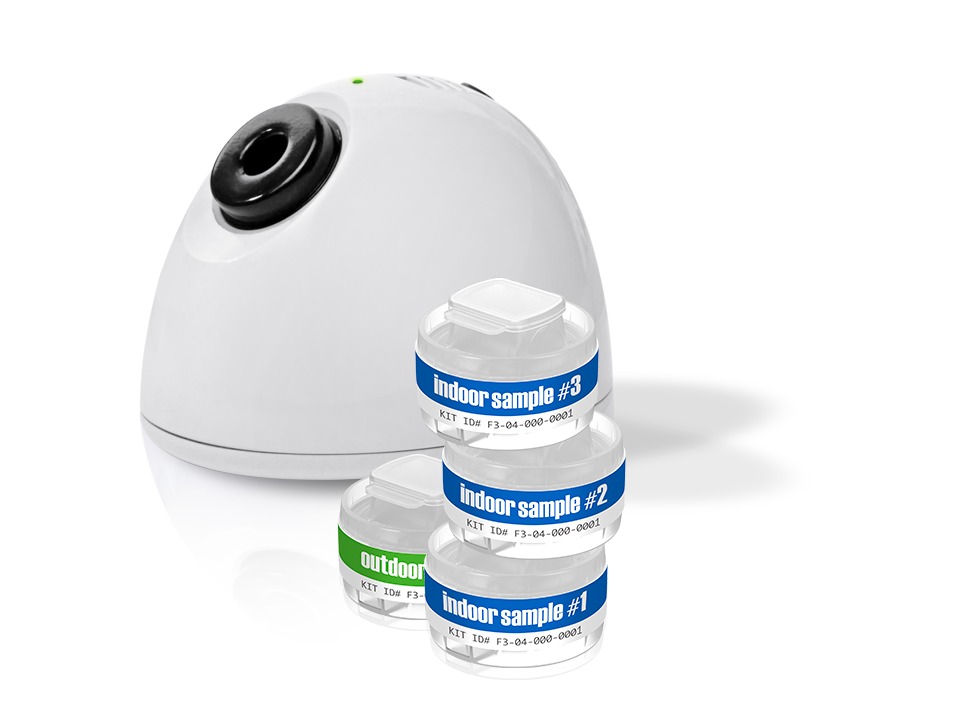
What about DIY mold test kits?
A culture plate grows mold from spores present in its sampling environment. Growth on the plate does not identify the moisture source in the building or show that a hidden wall is contaminated.
How to interpret meters, thermal images and mold lab results
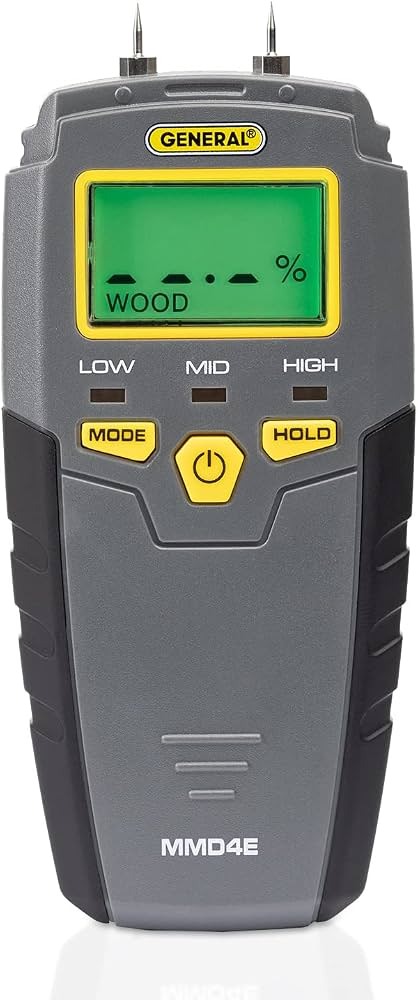
A moisture meter compares dampness across building materials. The reading depends on the instrument, its operating mode, the substrate and reference readings.
| Evidence or instrument | Useful information | What it cannot show on its own |
|---|---|---|
| Visual inspection | Accessible stains, growth-like material, water damage and deterioration | Conditions inside inaccessible cavities |
| Moisture meter | Moisture readings and comparisons between materials | Mold species, presence or health risk |
| Hygrometer | Relative humidity in the measured room at that time | Location of hidden mold |
| Infrared camera | Surface temperature patterns that guide further investigation | Direct images of mold or a conclusive leak diagnosis |
| Borescope | A view inside an accessible hidden location | The full condition of every hidden surface |
| Laboratory sample | Findings from that material or air sample and method | Whole-building safety or an individual’s health outcome |
A cool patch on a thermal image shows where to check for moisture. Confirm it with readings from the same material and from a comparison area.
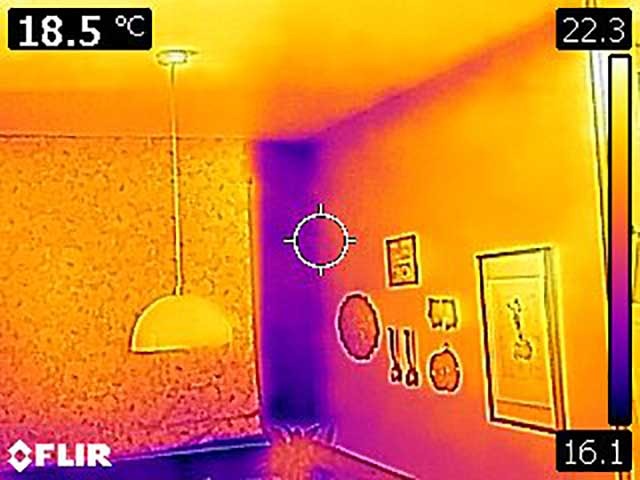
Ask the investigator to name the instrument and its setting, the material measured, the reference readings and why the result points to a problem.
The CDC/NIOSH discussion of mold testing and remediation explains the limits of reading short-term air samples and mold counts as indicators of health risk.
When to hire a qualified mold assessor instead of investigating yourself

Bring in a qualified professional when:
- Hidden growth is possible: The suspected contamination sits behind drywall, under flooring, within insulation or in a hard-to-reach space.
- Water damage is substantial: A large area, several materials or repeated wetting makes the affected extent hard to judge.
- Contaminated water is involved: If the damage involves sewage or other contaminated water, hire professionals experienced with contaminated-water damage and cleanup.
- HVAC contamination is known or suspected: If you know or suspect the heating or cooling system contains mold, leave it off until a professional assesses it. Running it could spread contamination.
- Materials are soft, rotted or damaged: These need investigation beyond surface cleaning.
- Someone in the home is vulnerable: Allergies, immune suppression and underlying lung or respiratory disease change who should take part in cleanup, and the CDC advises people with certain respiratory or immune conditions to avoid mold cleanup.
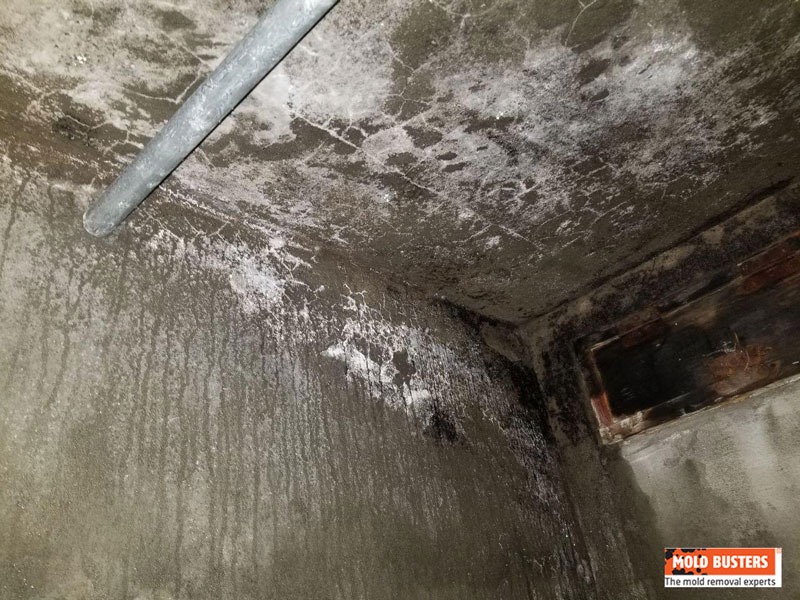
The EPA uses an area of approximately 10 square feet, about 3 feet by 3 feet, as a conditional guideline for many ordinary small cleanup jobs. It does not give you permission to open a hidden cavity, and it does not serve as a universal safety measure.
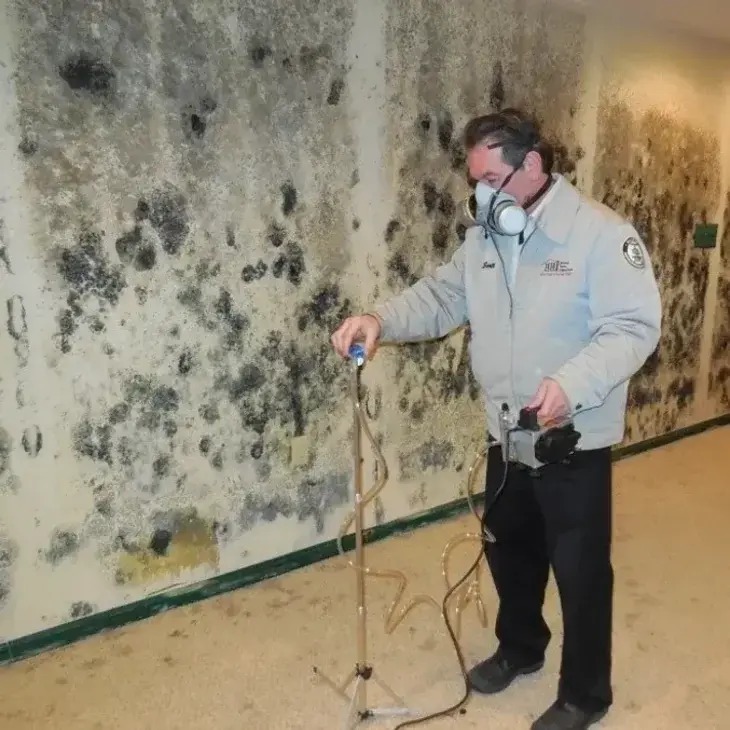
How to evaluate qualifications
The EPA’s guidance on mold inspectors and remediation companies states that the EPA does not certify mold inspectors or remediation companies. Be wary of anyone who claims EPA certification.
Check the professional’s experience with moisture investigations, training, references, proposed inspection scope and plans for any invasive work. If you are deciding between the two services, check what a standard home inspection covers first.
State licensing rules matter too. Florida, for example, generally restricts a mold assessor or its company from remediating a structure it assessed within the previous 12 months, and applies a corresponding restriction in the other direction. The law includes exceptions for qualifying Division I contractors; other states have their own rules.
What a useful inspection report and quote should contain
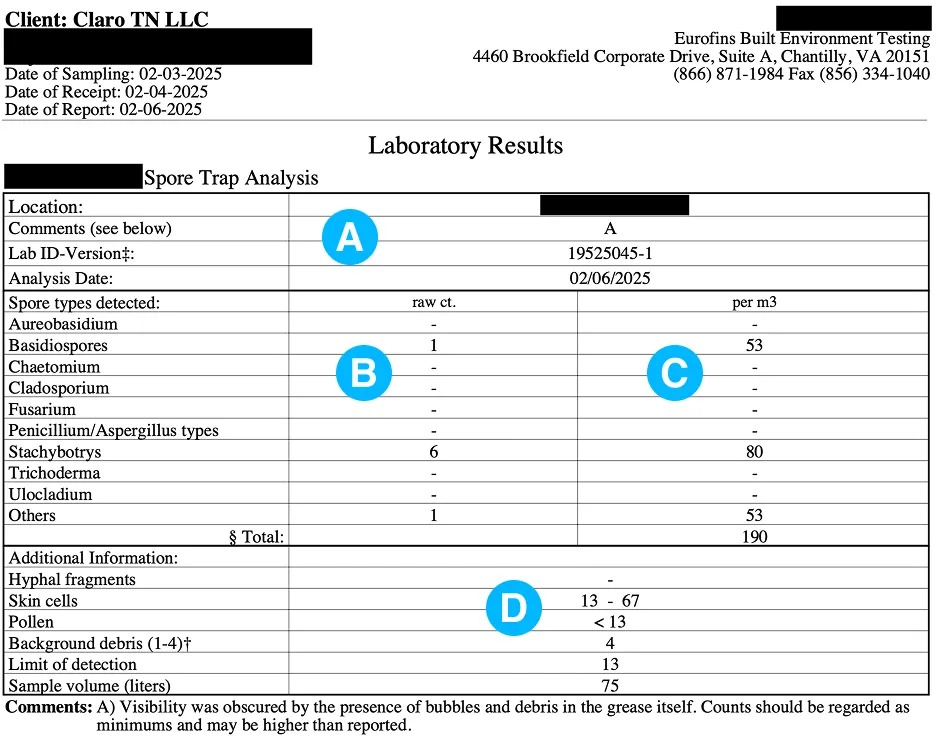
An inspection is worth paying for when its findings guide a repair, further investigation or a remediation decision. A list of sample results that skips the likely moisture source and the affected areas leaves the main question open.
The written report should let someone who was not there understand what was examined, what was found and what remains uncertain.
Depending on the agreed scope, a visit may begin with the water-damage history, move through a visual examination of accessible areas and moisture measurements, include targeted sampling if justified, and finish with documented findings and next actions.
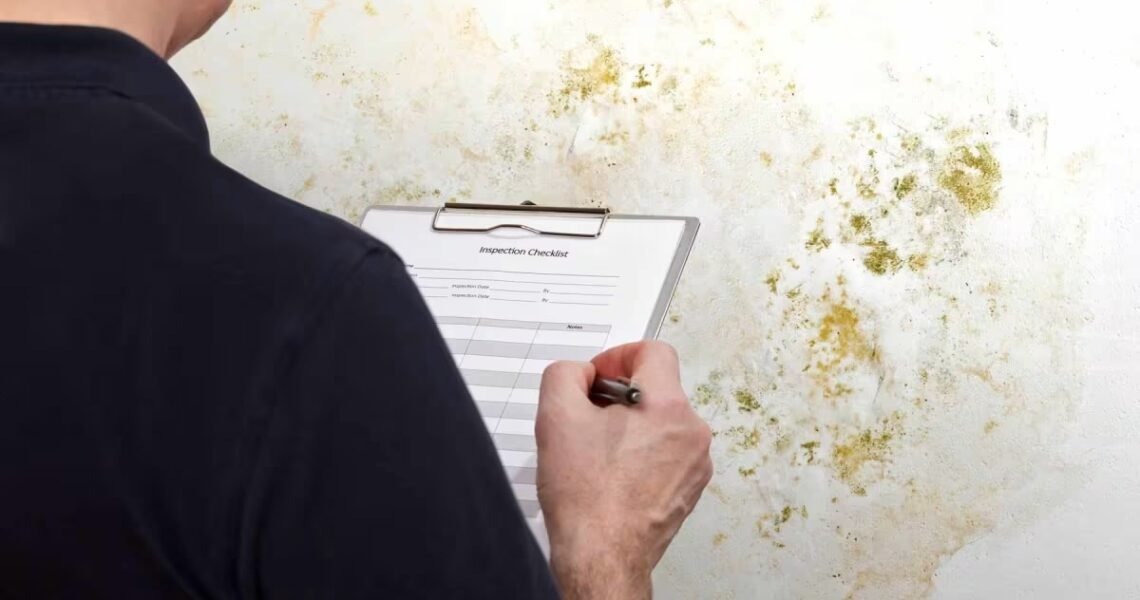
Check proposals against this list.
| Report or proposal element | What to look for | What it gives you |
|---|---|---|
| Inspection scope | Rooms, materials and systems included | Shows what the fee covers |
| Access limitations | Areas excluded or not examined | Shows the gaps in the findings |
| Observed conditions | Locations, visible damage and photographs | Preserves the evidence |
| Moisture investigation | Findings and possible water sources | Links the problem to its cause |
| Instrument results | Device, settings, material and interpretation | Makes measurements understandable |
| Sampling, if proposed | Reason, locations, method and interpretation | Links testing to a defined decision |
| Recommendations | Repair, further investigation or remediation next steps | Makes the report actionable |
| Separate charges | Inspection, laboratory work, additional access and other services | Prevents misleading quote comparisons |
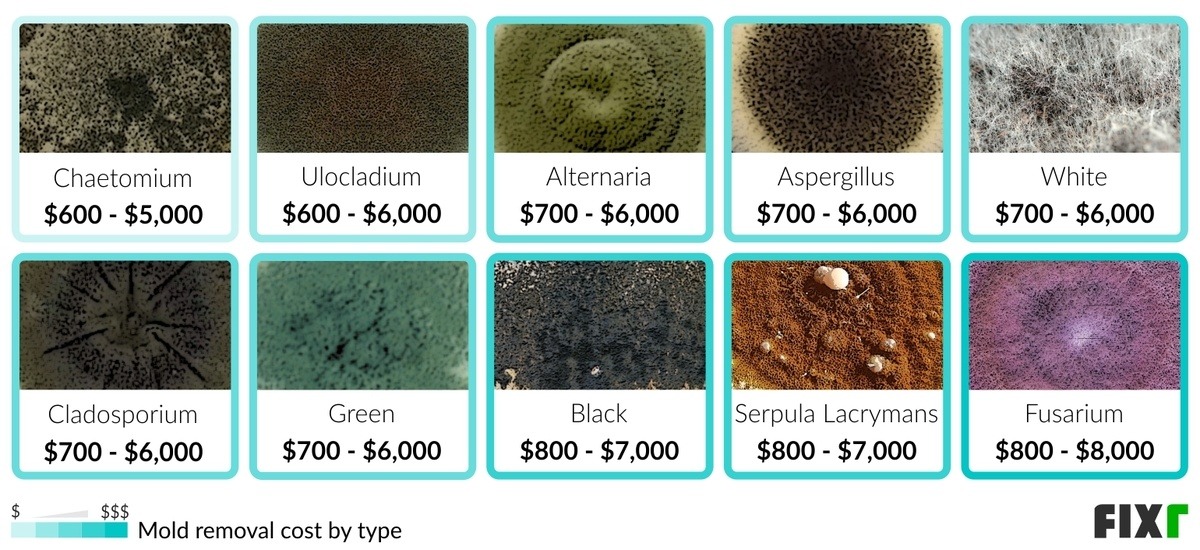
Compare the work being offered
Two estimates can differ because they describe different services: one quotes an accessible visual assessment, another adds several laboratory samples, extra moisture mapping or further investigation of hidden areas. A quote with laboratory samples but no moisture-source investigation covers a very different service from a documented assessment of the suspected area. Sampling, inspection, remediation, moisture repair and reconstruction are separate expenses, so the quote should show which are included and which need another authorization. What a mold inspection fee actually covers is broken down in what mold inspection costs cover.
Angi’s October 5, 2026 guide reports inspection costs from $303 to $1,075, averaging $689; HomeGuide’s September 15, 2023 guide reports $300 to $650, averaging $450. These publisher estimates come from different sources. Compare them with an itemized quote for your property.
ANSI/IICRC S520:2024 addresses professional mold remediation practices and related documentation.
If the assessment relates to a home purchase, rental condition or disputed repair, preserve the observed findings and agreed scope.
If mold comes back after cleanup
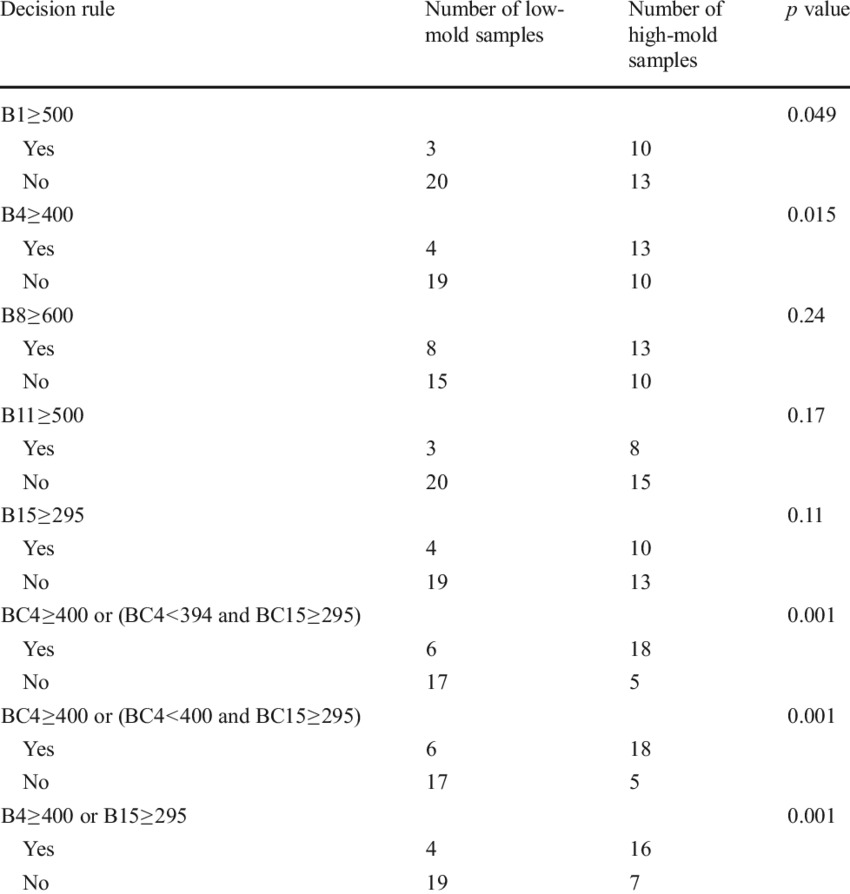
If suspicious growth or musty conditions return after cleanup, assess whether moisture remains and whether affected materials were missed.