
Mold on Shower Grout and Caulk: Clean It or Replace It?
If the grout is solid and the caulk is firmly attached, clean off the surface buildup and dry the joint. If the grout is crumbling, or the caulk is cracked, peeling or won’t come clean, repair or replace it. If water shows up behind the tile, the backing or tile is loose, or a gap might be a drain, find the moisture problem or check the shower design before you seal anything.
Is It Grout or Caulk? Identify the Joint Before You Clean It
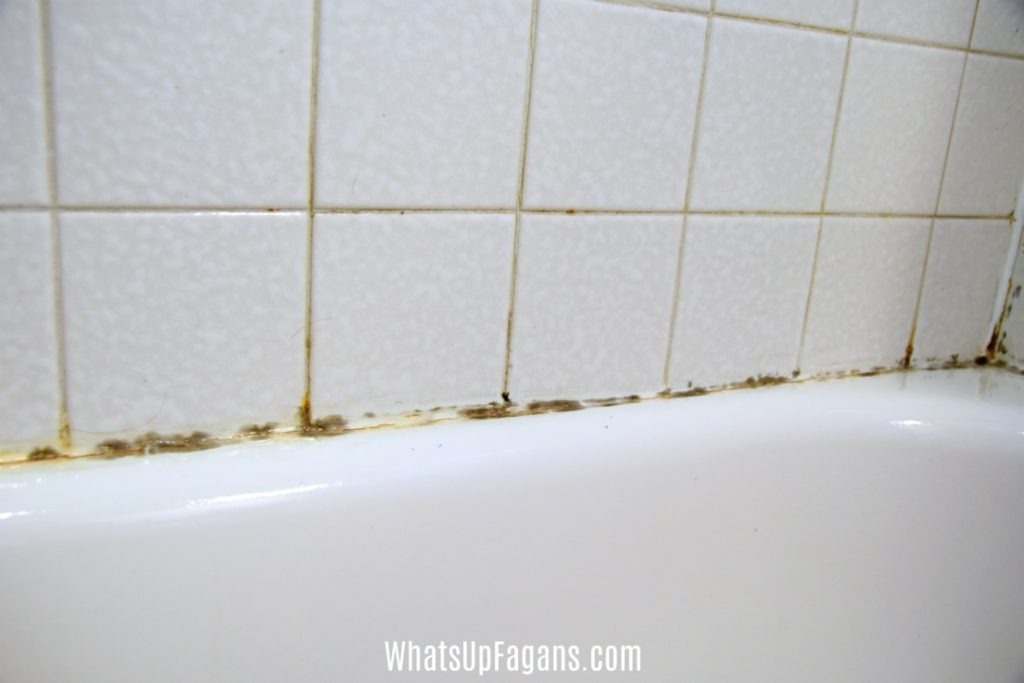
A dark seam in a shower can be grout, caulk, or a mix left by an earlier repair. Start with where the seam sits.
Grout fills the narrow spaces between tiles on the same flat surface and sets rigid. Caulk forms a smoother, flexible bead where surfaces meet, such as where a tiled wall meets a bathtub or shower pan.
The two sit in different places because surfaces that move independently crack a rigid filler. The Tile Council of North America explains why flexible sealant goes where surfaces meet at an angle or where the backing material changes.
| Feature | Grout between tiles | Flexible bath caulk |
|---|---|---|
| Primary job | Fills the joints inside a tiled surface | Absorbs movement and seals junctions |
| Typical position | Between neighboring tiles | Wall corners, tub edges, shower-pan transitions |
| Feel and appearance | Firm and rigid | Smooth and slightly flexible |
| Signs of failure | Crumbling, cracking, missing filler | Peeling, splitting, lifted edges |
| Repair | Repair with matching grout where the system is sound | Remove and replace the failed caulk |
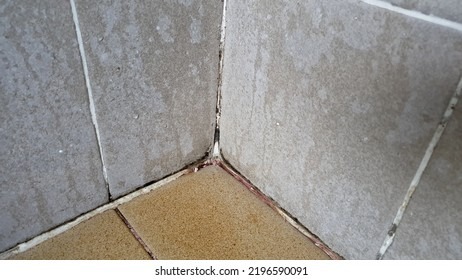
A horizontal line between two wall tiles is ordinary grout. A similar-looking line where the wall meets the shower floor needs flexible caulk, because the two surfaces move differently.
Sealants come as silicone, acrylic, urethane and multi-polymer, and grout comes in different formulations too. If you’re unsure what’s installed, check the product documentation or the shower’s installation records instead of guessing from color.
Clean It, Replace It, or Investigate? Use These Visible Signs
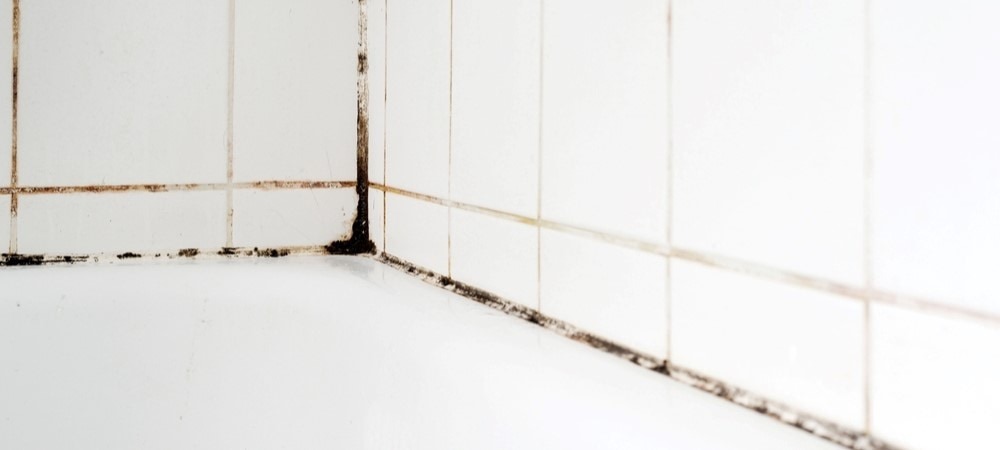
A dark stain on firm grout needs cleaning. A silicone bead pulling away from the wall needs replacing.
| What you see | What to do | What changes the call |
|---|---|---|
| Surface discoloration on solid grout | Clean | Crumbling grout or signs of water behind the finish |
| Surface film on caulk that is still firmly bonded | Try cleaning | Caulk that is split, peeling or stays dirty |
| Missing or powdery grout between tiles | Repair the grout | Loose tile, wet backing, or a movement joint |
| Caulk lifting, cracking, or separating | Replace the caulk | Water coming out from behind the tile |
| Moisture seeping from underneath tile, soft backing, or shifting tiles | Investigate | The real source and extent of the water damage |
| An unfamiliar opening at the shower base | Find out what it’s for | Whether the assembly has an intentional drain |
The EPA treats an area of about 10 square feet as a rough limit for a mold job a homeowner can handle. That limit doesn’t cover hidden water damage, unsafe demolition, contaminated water or other serious complications. If you have significant mold sensitivity, a suppressed immune system or lung disease, don’t do the cleanup yourself.
Color won’t tell you how big the repair is. Dark residue and pink staining can appear together, and neither shows which organisms are present or what lies behind the surface.
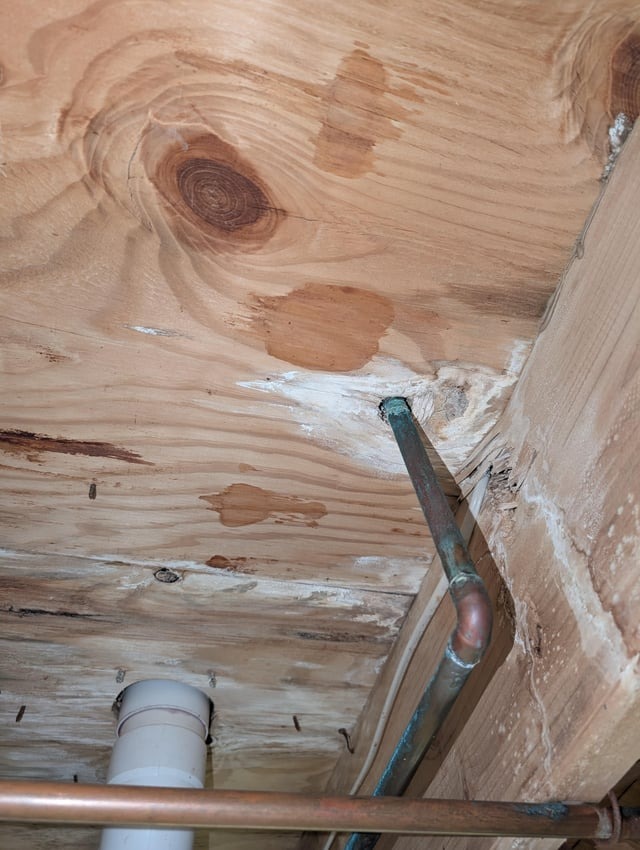
Hi. We just bought a house recently (<6 mo.) and found this while replacing the caulk. I noticed some pink mold on the top of the caulking so I’m stripping it all. I’m guessing that the plastic allowed humidity to condense on the back side of the plastic without being allowed to vent, since it is more or less hermetically sealed. Caulk around everywhere in the shower.
Since there is both pink and a dark mold on the back of the caulking, does this mean that it is likely all behind the plastic shower? Does this warrant a complete tear out? Or is this normal?
Discoloration alone can’t tell you where the moisture came from or what’s behind the shower surround. That depends on the material, the construction and any sign of water intrusion.
How to Clean Sound Grout and Intact Caulk Safely
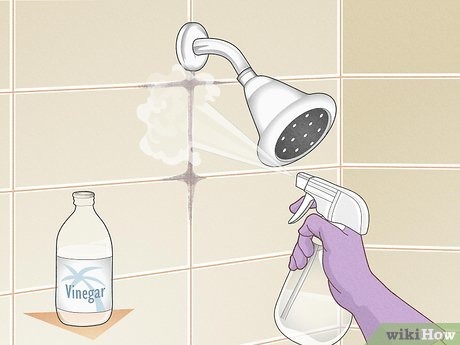
For buildup on sound, hard surfaces, the EPA recommends cleaning with detergent and water, physically removing the contamination, and drying the surface completely. Start there when the joint is intact.
Check what you’re cleaning first. Glazed tile, marble, grout and silicone don’t tolerate the same chemicals or brushes.
Clean in this order:
- Check compatibility. Read the cleaner’s instructions and any care guidance for your tile, grout, caulk or shower-pan finish. If you’re unsure, test a hidden spot.
- Protect yourself. Wear gloves, goggles and at least a NIOSH-approved N95 respirator, as described in CDC mold cleanup guidance. Ventilate the room.
- Remove the buildup. Use a mild cleaner or detergent and water with a soft cloth or gentle tool. Don’t scrub hard enough to damage the joint or finish.
- Rinse. Wash off cleaning residue the way the product instructions say.
- Dry. Let the joint and surrounding surfaces dry fully before you judge what’s left.
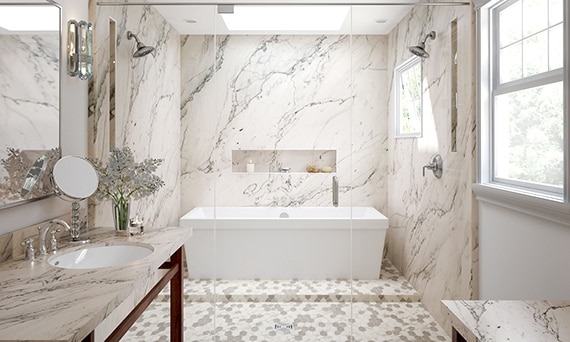
Natural stone needs different cleaners
Marble, limestone and other calcium-carbonate stones react with acids. The Natural Stone Institute warns that acidic cleaners, including vinegar and lemon-based products, can etch or dull the finish. Abrasive products can scratch it.
A cleaner that works on glazed tile can ruin marble. If you don’t know the stone, use material-specific guidance and a non-acid cleaner.
What about bleach?
The EPA’s bleach and mold guidance doesn’t recommend routine biocide use as the default. Physical removal and drying come first. The CDC allows bleach or dish detergent depending on the cleanup conditions.
Never mix bleach with ammonia or other cleaning products. Ventilate, and follow the product label and surface instructions.
If gentle cleaning exposes a loose bead or grout that breaks down, you’re past routine cleaning.
When Moldy Grout Needs Repair
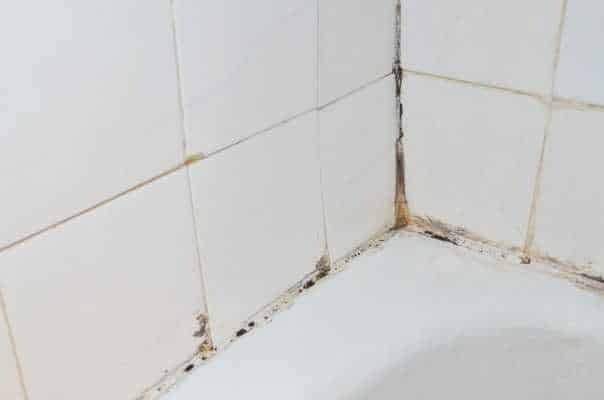
Grout that crumbles, falls out or leaves gaps between tiles no longer does its job as joint filler. Where the damage sits decides the repair: between tiles on a flat wall, or where two surfaces that move independently meet.
Say a short section of grout is missing between two wall tiles. The tiles are firm, the backing looks sound and there’s no unexplained water. A limited repair with grout that matches the existing tile system fits.
Now say the same rigid grout keeps cracking where the tiled wall meets the shower pan. That joint needs flexible caulk made for movement. Filling the crack with another thin layer of rigid grout leaves the movement problem in place.
Before you repair grout, make sure the surrounding tile is secure and the joint is dry and sound. Match the replacement grout to the existing grout and tile, and take care when removing damaged grout around stone or delicate tile finishes.
When and How to Replace Failed Shower Caulk
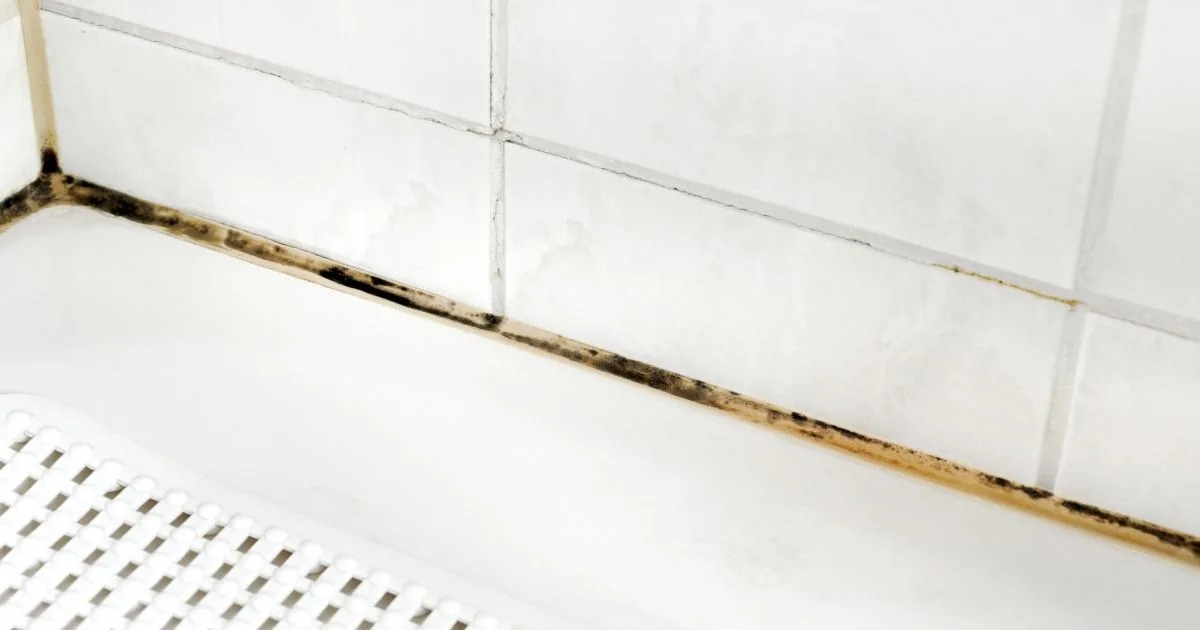
Replace a bead that is split, peeling, separated or poorly bonded. Follow these steps:
- Remove the failed bead and any loose remnants carefully. Use tools that won’t damage the surrounding tile, tub, pan or stone finish.
- Clean mold buildup, soap film, grease, oil and old sealant residue off the surfaces the new bead will bond to. The EPA advises against caulking over moldy surfaces. The surfaces must be sound and dry, since wet, deteriorated or contaminated material interferes with the repair. A deep or unusually wide joint may need a manufacturer-specified joint design or backing material.
- Pick a sealant rated for wet areas, suited to how much the joint moves, and matched to your actual tile and fixture materials. The Tile Council of North America notes that acrylic caulks can break down in horizontal wet applications. Silicone, urethane and multi-polymer sealants are among the alternatives.
- Keep water off the new bead for the time the product specifies before you use the shower again.
GE Advanced Silicone 2 Kitchen & Bath is advertised as water-ready in as little as 30 minutes when the bead is no larger than 3/16 inch, the temperature is at least 65°F, and relative humidity is at least 50%.
Outside those conditions, the GE Advanced Silicone 2 technical data sheet specifies eight hours before water exposure and no touching or cleaning for 24 hours. It also lists a typical full cure of 24 hours under the product’s specified conditions.
The Shower Gap You Should Not Automatically Caulk
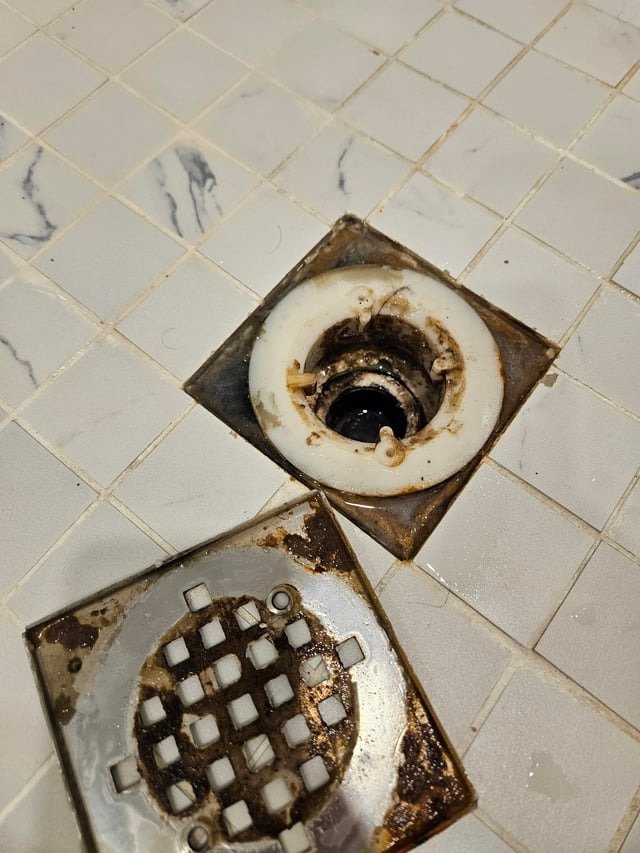
Find out what an unfamiliar opening at the shower base is before you fill it. Some shower assemblies have intentional weep openings or drainage features that let water leave a designed space, and they can look like missing caulk.
Hi! Basically as the title states, there is a random gap in the shower where the base of the shower meets the wall. Is there any reason for this? Or can I just put some caulk there and call it good. I’m worried that water is escaping
The poster later learned about weep holes and said they would have filled the opening without asking.
A movement joint needs flexible caulk. An intentional drainage opening has to stay open, as the installed system was designed. Find the shower surround or pan manufacturer’s installation instructions, or have a knowledgeable installer identify the opening before you seal it.
When Mold Under Caulk Points to a Bigger Water Problem
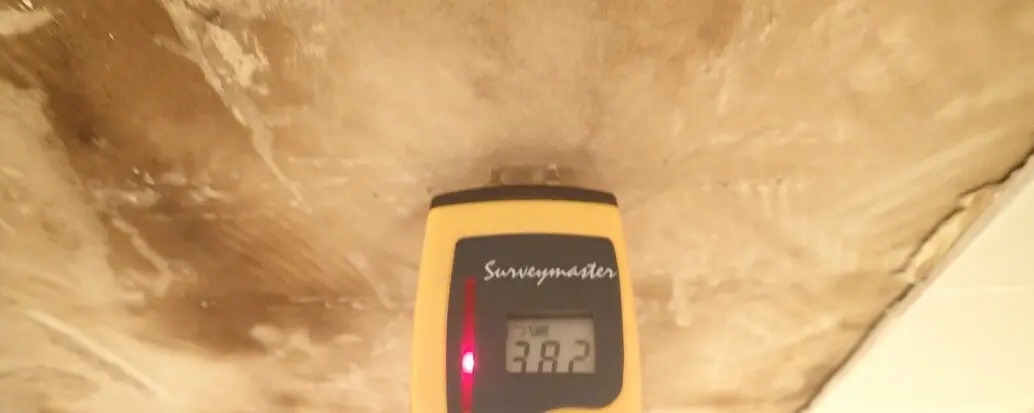
If water comes out from behind tile while you remove caulk, stop the cosmetic repair and find the source. Loose tiles, soft backing, persistent dampness and water marks near a bench or floor edge also mean the visible joint is only part of the problem.
Yesterday, while deep cleaning my shower, I scrubbed off some silicone caulking (which was applied poorly by the previous owners and was already peeling) because I could see black mold behind it in spots. I’ve resisted doing this for the last year or more because I had a feeling that in doing so, I’d be opening Pandoras box.
Once I started scraping off the silicone, it became clear there was no longer any grout behind it. The caulking I removed was covered in black mold, and a bit of nasty water seeped out from some of the tiles. I assume this means there’s mold behind at least some of the tiles and they’ll need to be removed.
I sprayed a shitload of 3% hydrogen peroxide into the now gaping cracks and now I’m too overwhelmed and disgusted to determine next steps, aside from closing the bathroom door and never opening it again.As you can see in the photos, most of the shower tiles are in great shape. Issue is the bottom row and underneath the bench.
I spent 2 hours deep cleaning this bathroom yesterday, and now it’s a fucking biohazrd site.
What are the chances we only have to remove some of the tiles and how much is this going to hurt?
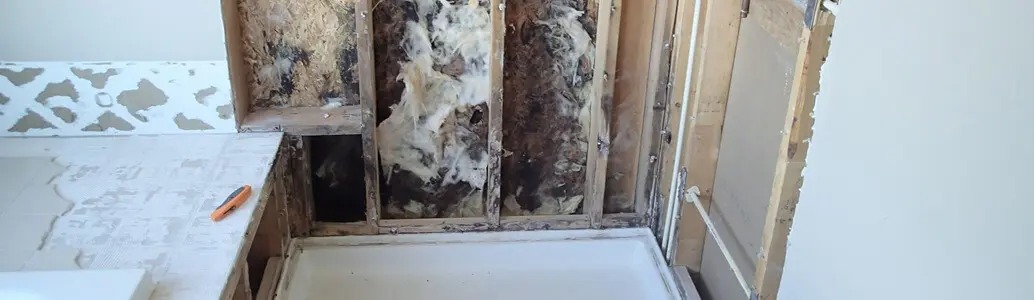
The water that appeared during removal is the detail that matters.
Tile and grout are finish materials. The waterproofing system behind or beneath them manages the water. Depending on how the shower is built, moisture can come from a plumbing leak or a problem inside the assembly.
Record where the water appeared, whether the affected tiles move, and which adjoining areas stay damp. A qualified tile, building-envelope or water-damage professional can assess the assembly and decide how much repair it needs.
Visible mold generally doesn’t need routine laboratory sampling before you fix an identifiable moisture problem. Water behind a joint calls for investigation, but it doesn’t by itself mean the whole shower must be demolished.
Why Dark Marks Return Under Silicone
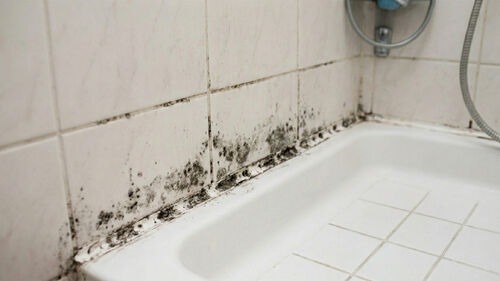
- The mark never came off after cleaning: it is likely residual staining.
- New buildup on an intact bead: it points to recurring surface moisture.
- The bead lifts or cracks: check adhesion, leftover residue and joint movement.
- Dampness continues behind the bead: investigate the water source.
Switching sealant brands without working out which case applies leaves the cause unresolved.
How to Check the Repair and Keep Mold From Returning
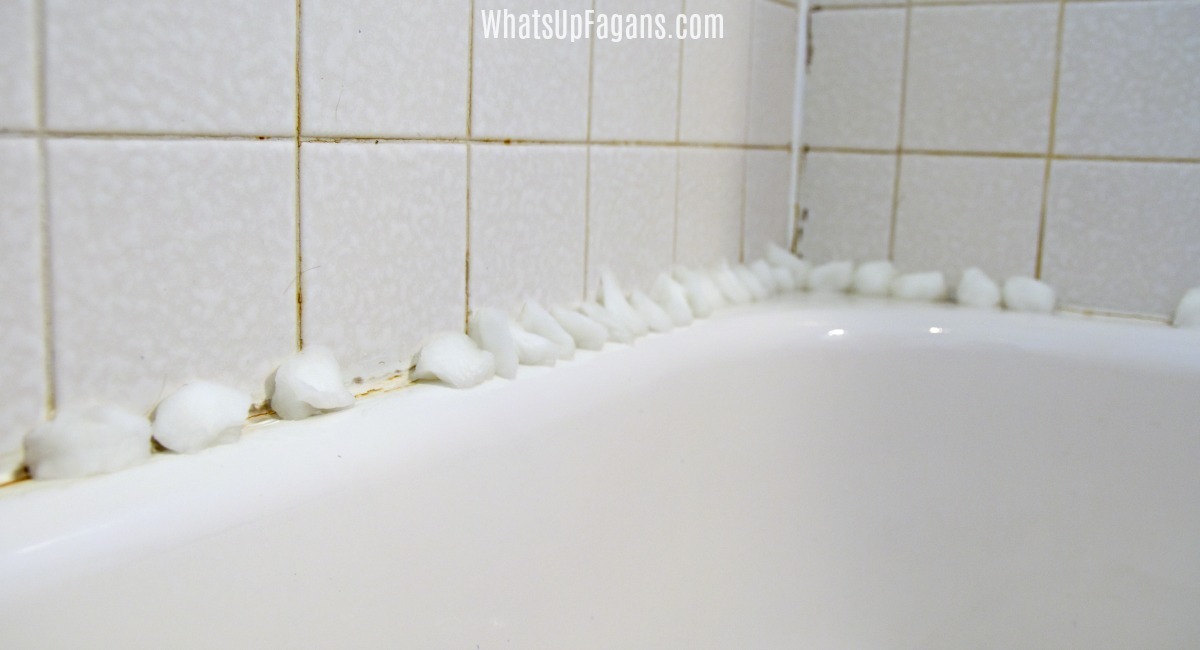
Once the product’s water-exposure period is over, check the repaired area. A good joint is dry, sound and bonded wherever caulk is needed:
- Grout: attached and intact, with no new gaps or crumbling.
- Caulk: bonded to the intended surfaces, with no fresh splits, lifting edges or separation.
- Surfaces: dry, with no unexplained dampness around the joint.
- Water: none appearing through an unintended opening or behind adjacent finishes.
I successfully scraped of the old caulking in my bathroom and cleaned the mold off, then recaulked (athis subreddit guided me to do). But it’s been less than a week and the caulk is kind of cracking. I think I just didnt put enough. Is it probably ok to just add more on top or do I need to redo all of it? I’ve kept the bathroom super dry in this time.
Cracking like this can come from joint movement, poor surface preparation, product compatibility or application conditions. Another layer over a failed bead won’t fix it. Find out why the seal failed.
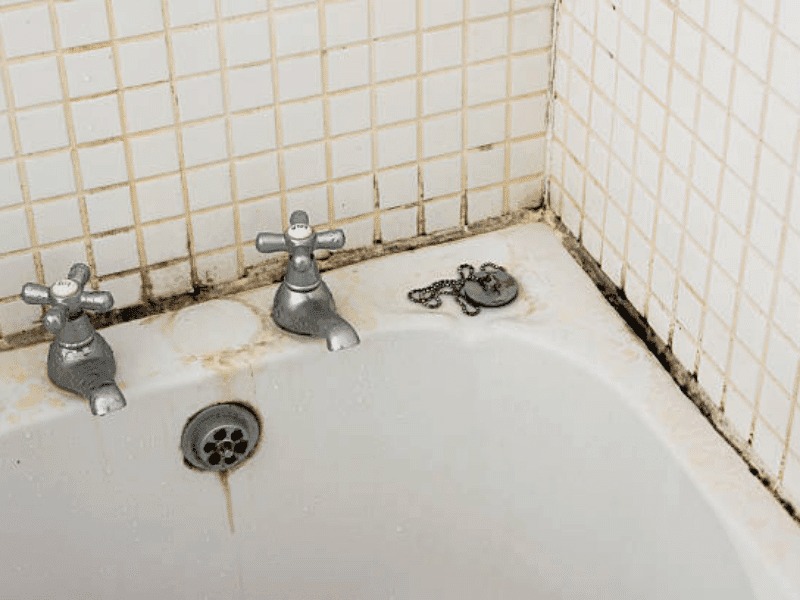
If your bathroom has an exhaust fan, make sure it vents outdoors, and run it during and after showers. Give wet surfaces time to dry. That controls routine humidity and condensation, but it can’t fix water escaping through a defective waterproofing assembly. When the joint itself has failed, shower caulk or grout needs a repair rather than another cleaner.
A faint stain can remain after successful cleaning, especially on materials that have discolored. The EPA acknowledges that some staining can persist after mold removal. What counts is that the surface is clean, dry and structurally sound, with no known moisture problem. If mold keeps coming back, check whether bathroom ventilation is moving moisture outdoors.